Adding products in WP eCommerce
Updated on Mar 13, 2019
As having an online store is all about the products, in this tutorial we will show you how to add new products to your online catalog.
To install WP Ecommerce, you need to complete the following steps:
- Step 1: Add New Product
- Step 2: Add Variants
- Step 3: Configure Shipping Settings
- Step 4: Add an Image
- Step 5: Add a Category, Tags and SKU
Step 1 Add New Product
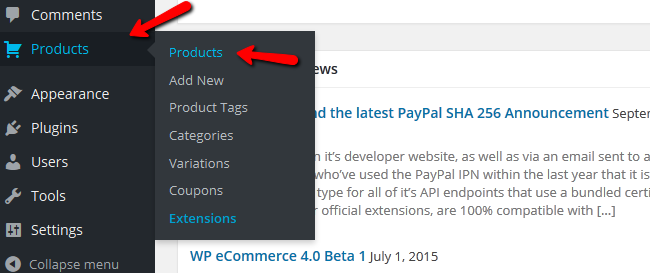
First of all you will need to login to your WordPress admin dashboard and navigate to Products>Add New from the main admin panel.
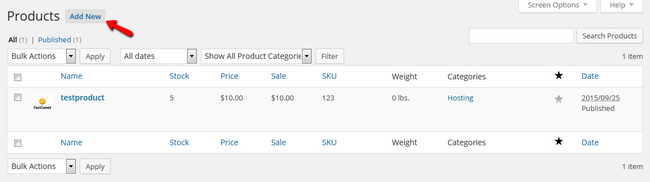
This is the product management page. From here you can add new and check on your already added products.
Now you can select a Title for your product, the exact link to it and write a description for that product.
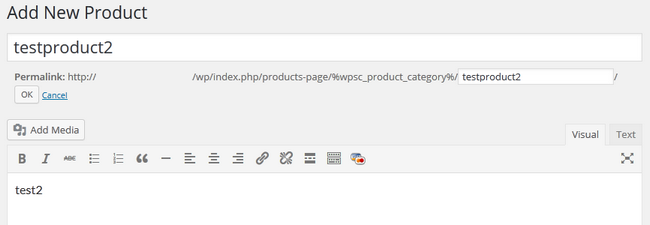
Select the Variations tab to continue to the next step of the tutorial.
Step 2 Add Variants
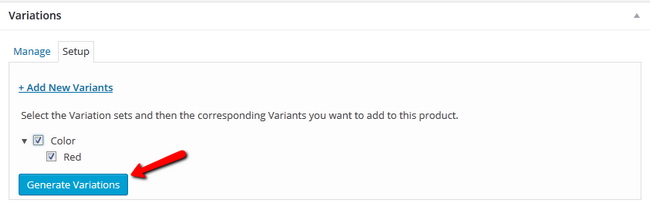
You can select a variation or add a new one. To add a new one you will need to click Add New Variants.
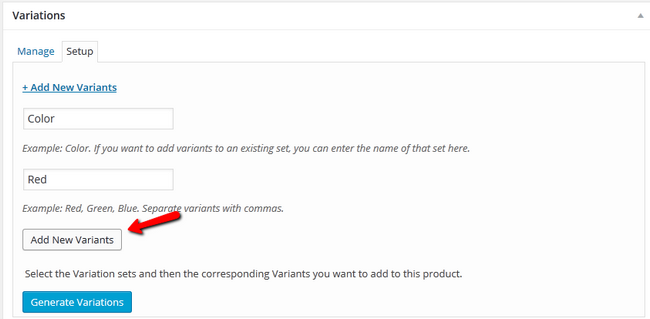
For example we have added Color/Red as a new variant for this product, now when we click Generate Variations a new variation of this product will be created.
You can see the variations for this product and configure options like SKU, Price and Stock amounts.
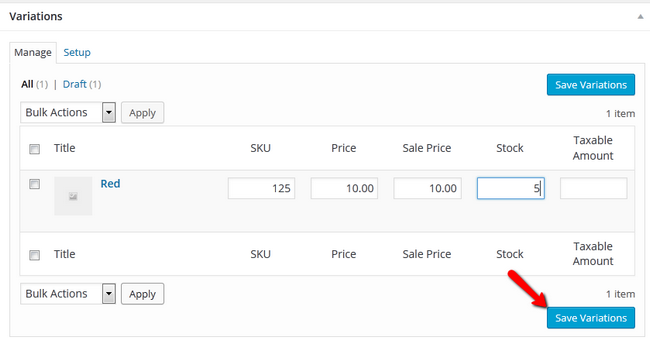
When you are ready with editing the variation, hit the Save Variations button.
Step 3 Configure Shipping Settings
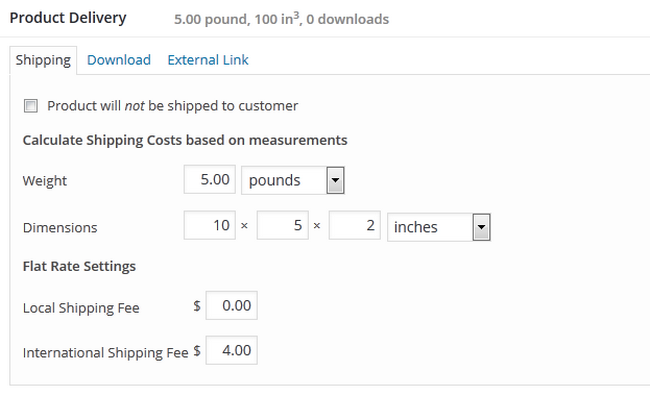
The next editable settings are the shipping/downloading ones. Here you can select whether or not you are selling a physical or a digital product. If it’s a physical product you can select the weight, dimensions and add custom shipping rates (the rate setup in the settings many of your store will overwrite these)
If you want to sell a digital product, you will first have to upload it on your store by clicking on the Upload new file… button.
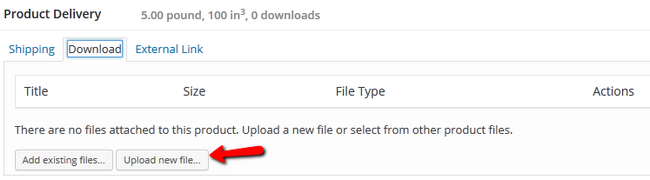
Now you will be able to select the file from your local computer.
Step 4 Add an Image
You should consider adding an image for your product and its thumbnail. Click on the Manage Product Image Gallery… button.

Now you can upload a new image or select an image from the ones you have already uploaded.
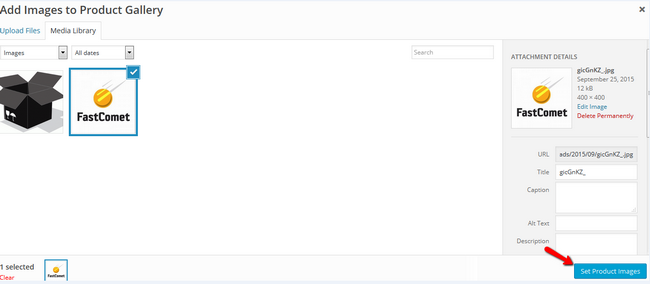
Select the image you want and click on Set Product Images.
Step 5 Add Category, Tags and SKU
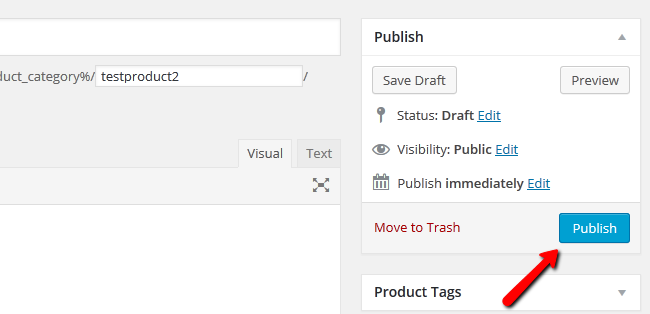
Before publishing the product you will have to apply tags to it and a category.

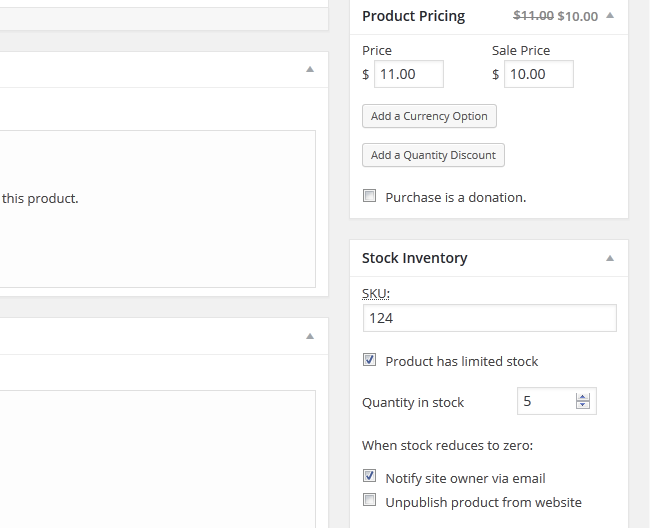
Also we have to set the price and SKU and if the product is limited, specify the quantity.
Now we are ready and we can click the Publish button.
You have successfully added a new product to your WP eCommerce store. Now repeat this for the rest of your products and once you are ready your site can go online.
On this page...

WP eCommerce Hosting
- Free Installation
- 24/7 WP eCommerce Support
- Free Domain Transfer
- Hack-free Protection
- Fast SSD Storage
- Free Cloudflare CDN
- Free WP eCommerce Transfer
