How to Manually Install SuiteCRM
Updated on Mar 13, 2019
This tutorial will review the manual installation of SuiteCRM on your account. There is an easier way of achieving that, using the automated SuiteCRM installation via Softaculous. Still, the manual installation offers a greater control over the configuration of your new website.
Start a SuiteCRM website in just 3 minutes:
To help you get started with SuiteCRM our Technical Support team provides Free SuiteCRM Installation.
- Free SuiteCRM Installation by our Support Team
- Free Domain Name for Life
- 24/7 Technical Support team
- Optimized SSD SuiteCRM Hosting
- Fast and Secure Servers
The manual SuiteCRM installation includes the following steps:
Step 1 Download and Prepare SuiteCRM Files
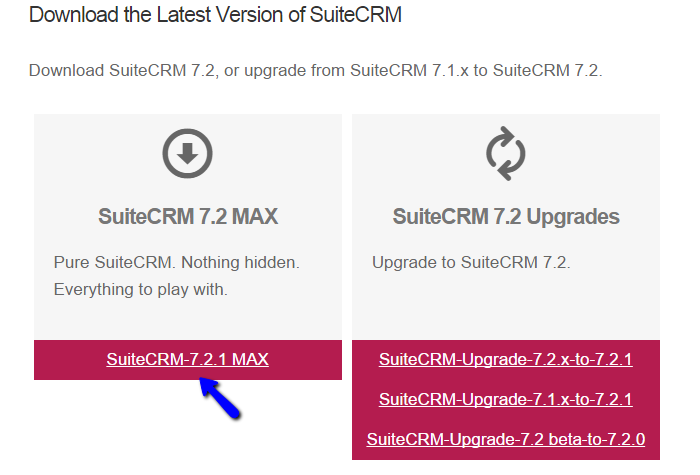
The first step is to download the latest stable release of the application. You can do that via the official SuiteCRM website.
Once you get the download package, extract the files on your local computer. This will create a folder that contains all of the installation files you need.
The next step is to upload those files to the server and the exact location, where you would like to install SuiteCRM. If you wish to install the application directly on the primary domain of your account, you will have to upload the SuiteCRM files in the public_html/ directory of your account. However, if you wish to install SuiteCRM in a subfolder or subdomain, this location will be different.
Upload Files
There are two ways of uploading your files to the server - using an FTP client, following our FTP tutorial, or uploading directly through your cPanel account > File Manager, following our cPanel tutorial.
Step 2 Initiate SuiteCRM Installation
Up until this moment, you will have a location on your account, where you have the SuiteCRM installation files ready. It is time to proceed with the actual installation. Simply access the location of your SuiteCRM installation, followed by /install.php. This will initiate the installation script.
The first step will request that you choose the language for the installation process of SuiteCRM. Select the language of your choice and click on the Next button to proceed.

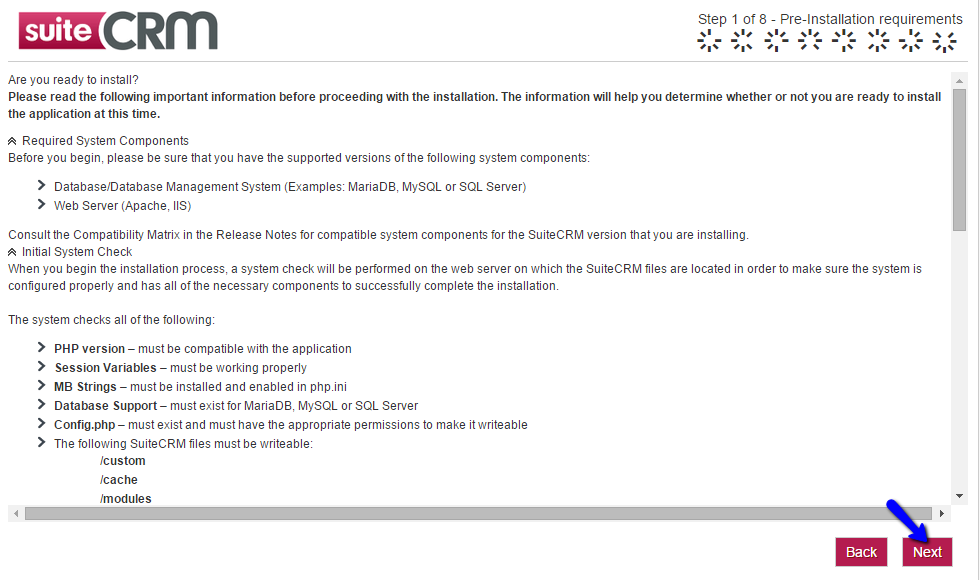
Read the pre-installation information of SuiteCRM, which is the next step of the process. Our servers are fully optimized for the application and you will not have any issues on this step.
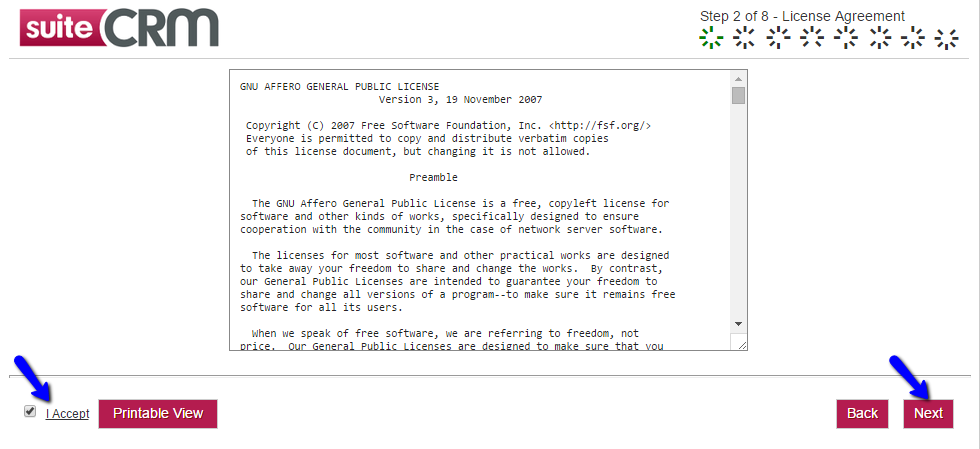
The next step is the License Agreement. You need to read the Terms of Use for SuiteCRM and accept them to proceed further.
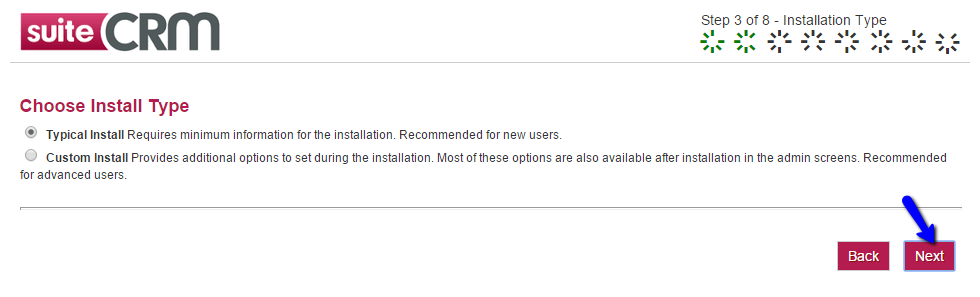
Choose the Installation Type for your SuiteCRM website. Usually, you should check the Typical Install, but if you are an advanced SuiteCRM user, you can use the Custom Install option instead. Click on Next to proceed.
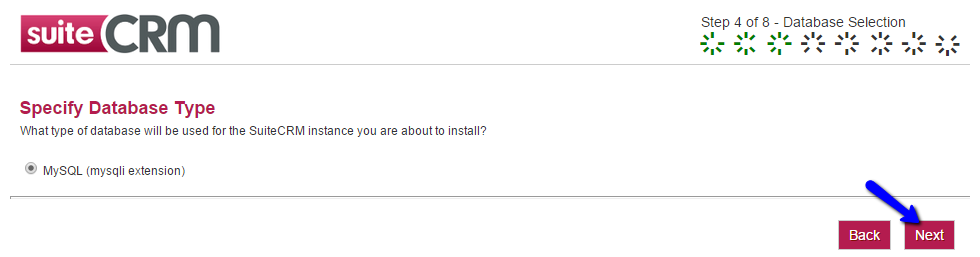
You need to select the MySQL type for the new installation. Click Next to proceed.
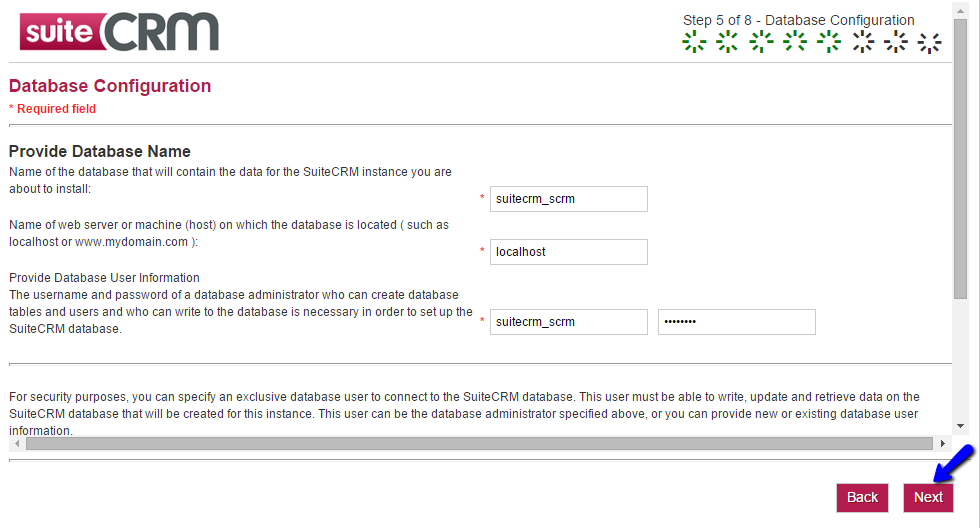
The next step is the Database Configuration. You will need to prepare a clean database and a user assigned to it with full privileges for your new installation.
MySQL Configuration
You can create a new database and a user assigned to it via cPanel. Simply follow our MySQL Wizard tutorial for information on that.
Once you get your database ready, you will have to edit the following options:
- Database Hostname: Enter “localhost” without the quotes, if your database is hosted on the same server.
- Database Name: Enter the newly created database for your website.
- Database User: Enter the user assigned to your database.
- Database Password: Enter the password.
You can also choose if you wish to import demo content on your website. If you are new to SuiteCRM, this will be a useful feature for your website that will allow you to test it’s features.
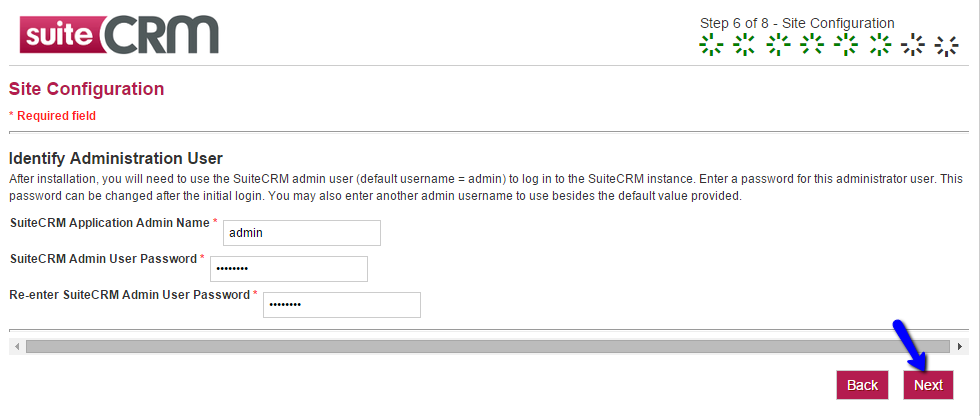
The next step is the Site Configuration. You will be able to set the administrative user on your website. Keep those details safe as you will need them to manage your new website after the installation.
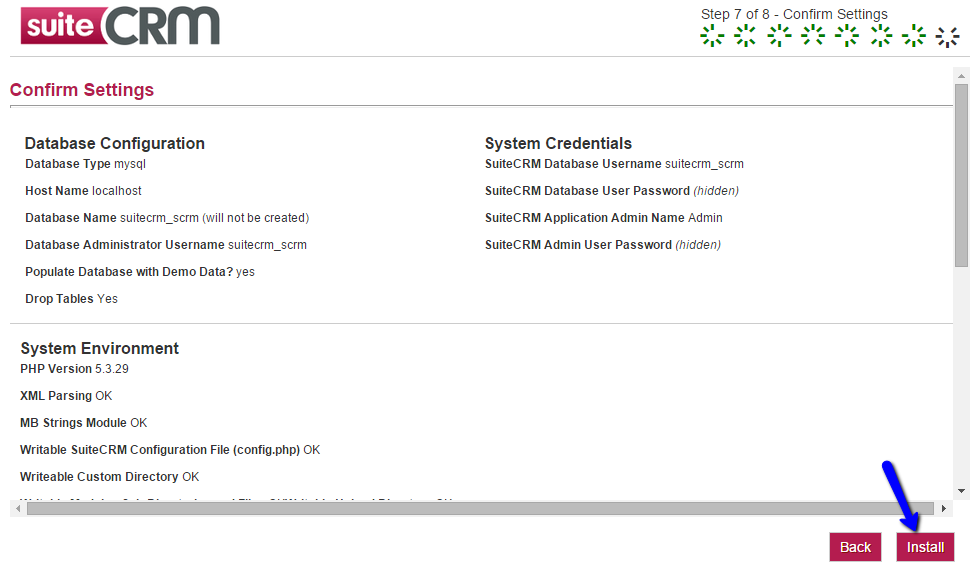
The last step is a review of all details you have specified for the new installation. Simply review them and make sure that it is configured the way you need. Once you are ready, click on the Install button to initiate the process.
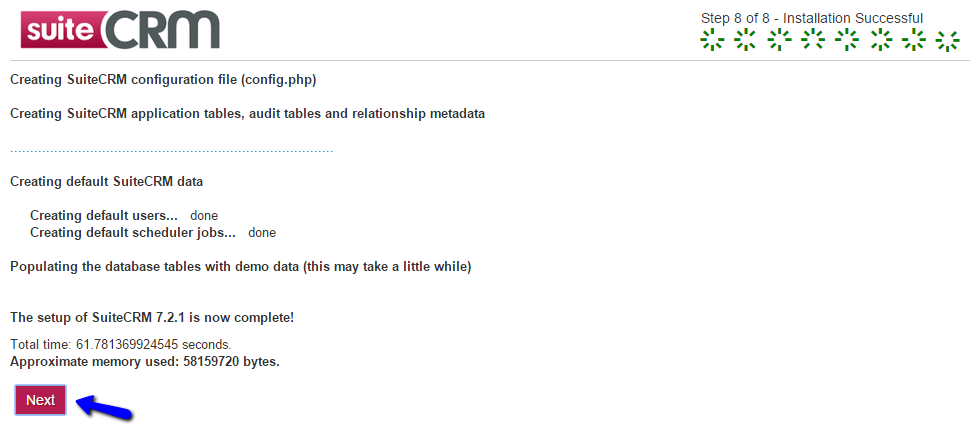
Step 3 SuiteCRM Successfully Installed
The system will complete the actual installation automatically for you. Upon completion, you will receive a successful message. Click on the Next button and you will get redirected to your new website. Enjoy!
On this page...

SuiteCRM Hosting
- Free Installation
- 24/7 SuiteCRM Support
- Free Domain Transfer
- Hack-free Protection
- Fast SSD Storage
- Free SuiteCRM Transfer
- Free Cloudflare CDN
- Immediate Activation
