How to create a role in SilverStripe
Updated on Dec 10, 2015
In this tutorial, we will review the actual process of creating new roles on your SilverStripe website. Instead of allowing actual permissions for each of your users separately, you can complete the job in one go. Simply create a new role and assign it to a number of users on your website and they will inherit it's role options automatically.
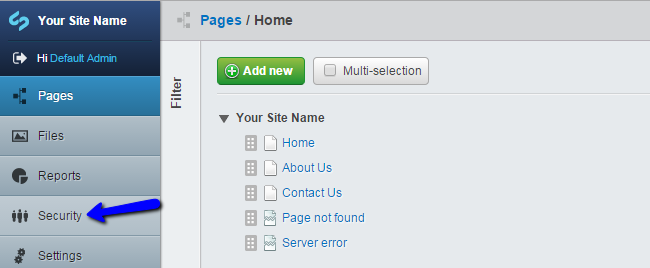
To create a new role, you need to access the administrative area of your website. Click on the Security option on the left-side menu.
Select the Roles button at the top-right corner.

Click on the Add Role button to create one

Enter the following details:
- Title - Set the title of the new role.
- Permissions - Select the permissions for the new role.
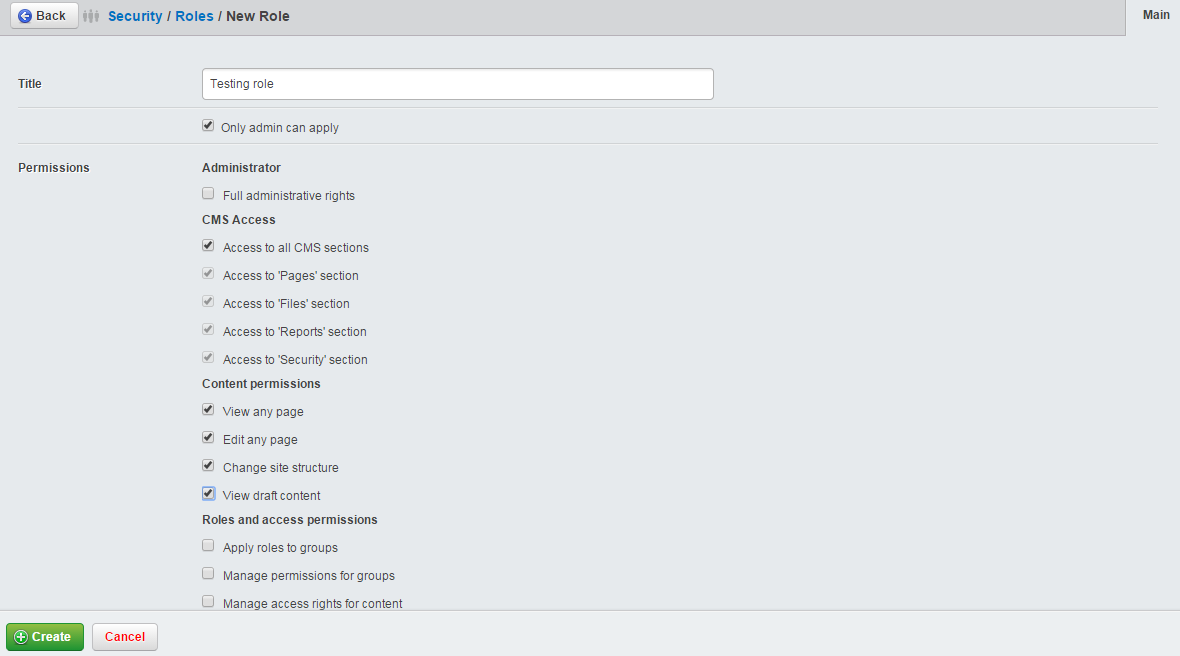
Once you enter the details above, simply click on the Create button below and the system will automatically complete the rest for you.
On this page...

SilverStripe Hosting
- Free Installation
- 24/7 Support
- Free Domain Transfer
- Hack-free Protection
- Fast SSD Storage
- Free Transfer
- Free Cloudflare CDN
- Immediate Activation
