Using the CMS feature
Updated on Dec 10, 2015
The CMS (Content Management System) in PrestaShop allows you to create, delete and manage the pages of your Store and also their contents like static blocks, images, banners and many more features.
To use the CMS part of PrestaShop, you need to check these steps:
step
CMS page Overview
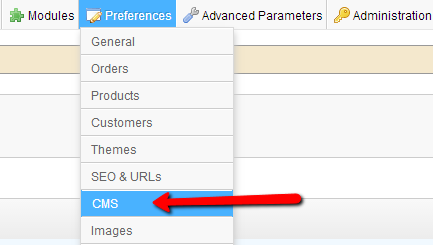
In order to access the CMS home page you will need to login into the admin backend of your Store and go to Preferences → CMS.
The home page of the CMS presents you with two tables views. The first one is for the CMS categories within the default Home category and the second is for the Pages in the specific category.
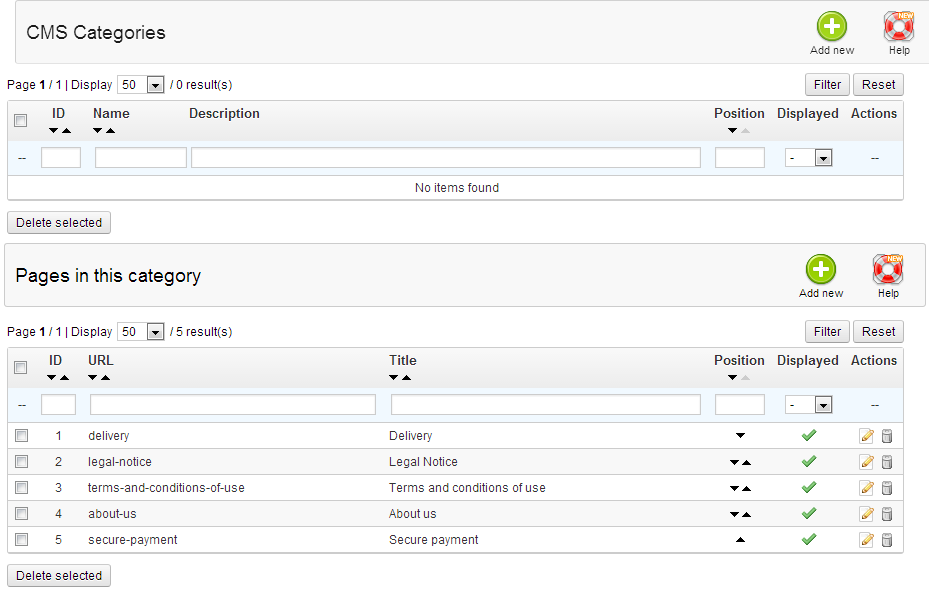
The CMS categories are serving for easily categorizing your pages for further use. By default PrestaShop has a single category called Home. Since this is the default category it cannot be deleted nor edited and it is automatically selected as default when you access the CMS home page.
step
Add a New CMS Category
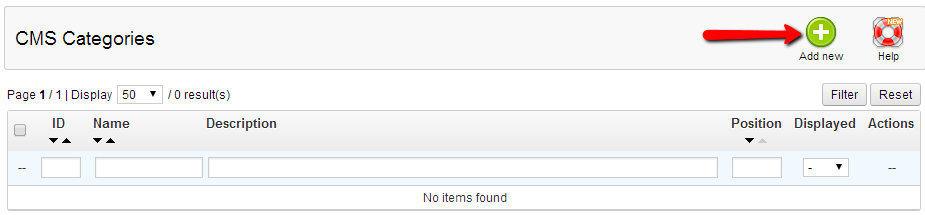
If you would like to add your own custom CMS Category you should be able to easily do so via the Add new button located at the top action bar.
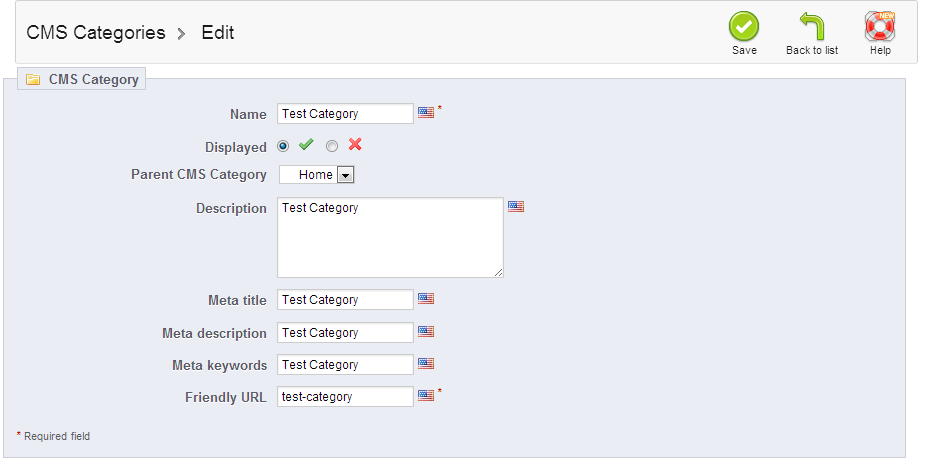
You will then be presented with the category adding interface which is fairly simple and it contains few fields you should fill in order for the category to be created.
Once the new category is created you will be redirected to the category view for that page and you will notice that there are no pages nor categories here. The reason for this is fairly simple - you are browsing the CMS home page , however within the scope of the newly created category.
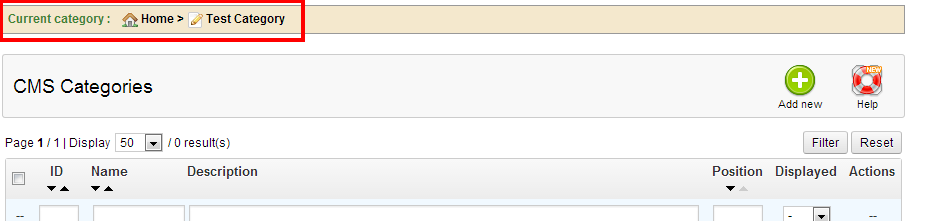
If you would like to know for which category you are browsing the CMS home page for please pay attention to the Current Category line above the CMS Categories action bar.
step
A Look into Default pages
In the default Home Category there are few pages added with the installation of the application:
- Delivery
- Legal Notice
- Terms and conditions of use
- About Us
- Secure Payment
These pages are listed in the table view Pages in this Category located on the home page of the CMS for the Home category (no sub-category selected).
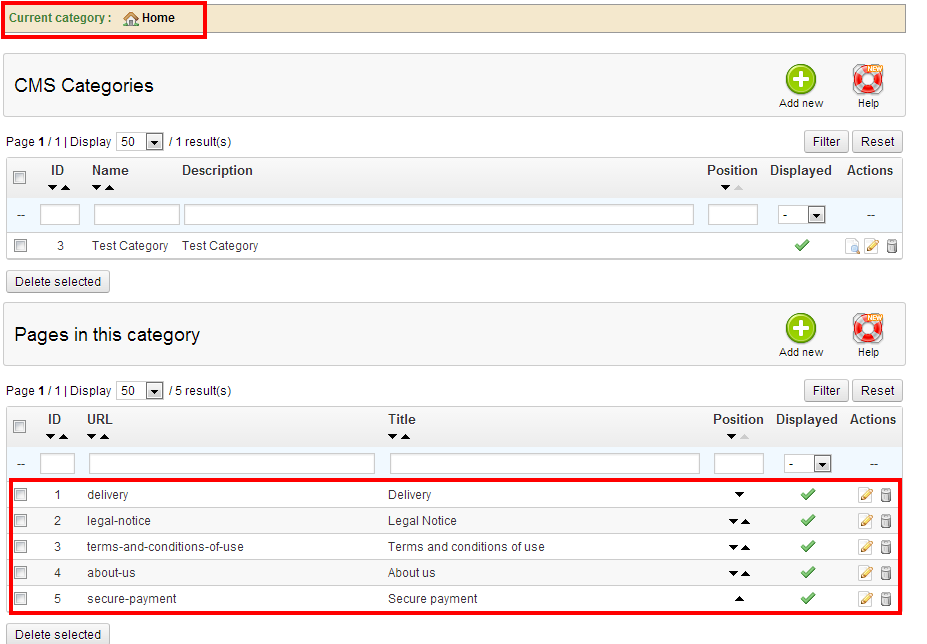
You can either edit or delete them via the Actions buttons, located at the end of the table row for each page.
step
Add New Pages
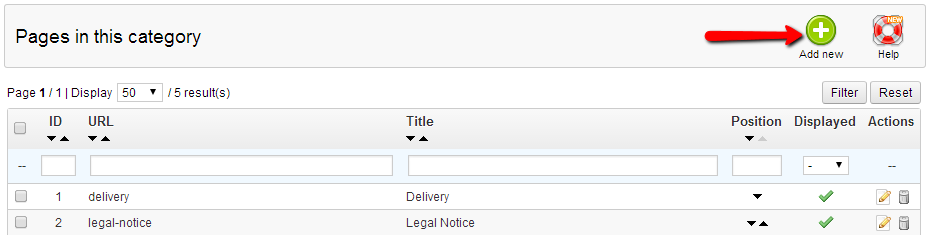
If you would like to add a page to the default Home category please use the Add new button located at the Pages in this category action bar.
Once the interface for adding a page is displayed you will need to fill all of the required fields so you can successfully add a page to the category previously selected.
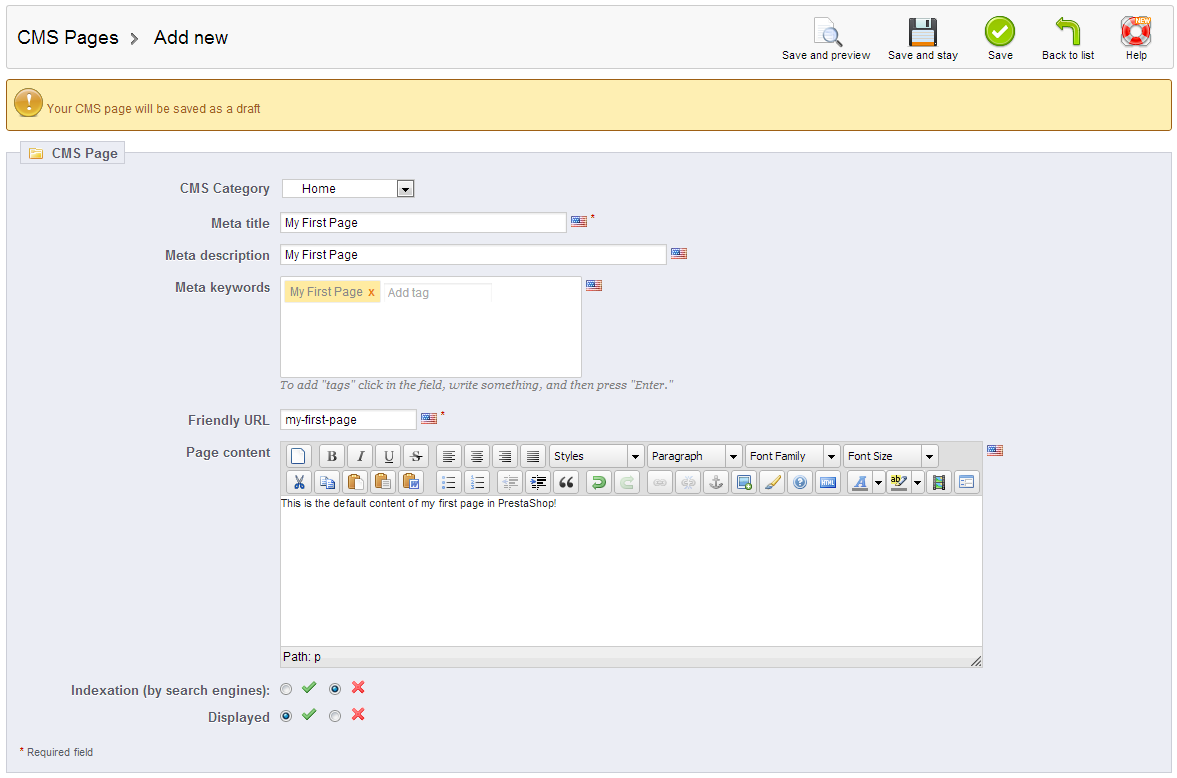
The fields in that interface are:
- CMS Category - The default selection from the drop down is the actual category you are adding page for.
- Meta Tittle - The tittle for this page which will be indexed by the search engines
- Meta Description - The description of this page which will be indexed by the search engines
- Meta Keywords - The keywords for this page which will be indexed by the search engines
- Friendly URL - This field is for how the page will be displayed in the URL of your Store when the friendly URLs are activated.
- Page Content - The actual content you would like displayed on that page. The WYSIWYG editor will easily allow you to edit the content of the page depending on your needs and personal desires.
- Indexation (by search engines) This feature allows you to choose if the page should be indexed or not.
- Displayed - Select if your page should be displayed or not.
Once you fill all of the fields you can preview how the page actually looks like by simply pressing the Save and preview button from the top Action bar and you will be redirected to your Store's frontend and the page you have just created will be displayed.
Congratulations! You can now easily manage the pages of your Store!
On this page...

PrestaShop Hosting
- Free Installation
- 24/7 Tech Support
- Free Domain Transfer
- Hack-free Protection
- Fast SSD Storage
- Free CloudFlare CDN
- Free Website Transfer
- Immediate Activation
