General Settings
Updated on Dec 10, 2015
Before start selling your products on your newly installed OpenCart store you might want to configure the basic settings of your store such as your store name, address, logo and other basic configuration options. To do this you will need to login your OpenCart admin panel with the administrative username and password you have set during the installation process.
To access your OpenCart, please refer to http://example.com/admin -- you should replace 'example.com' with your actual domain name.
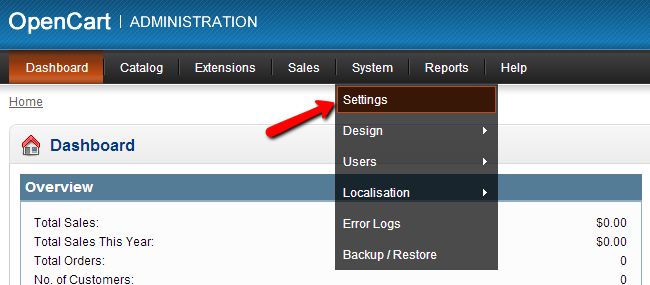
When you login your OpenCart Admin Dashboard you will be displayed with a general overview of your store. To access the General Settings menu, please refer to System → Settings from the main navigation on the top.
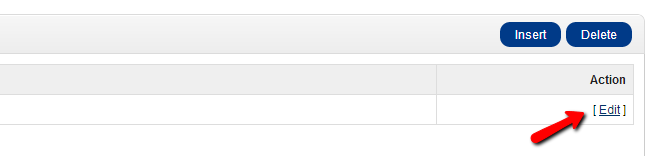
On the next page, please click on the Edit link next to your store name.
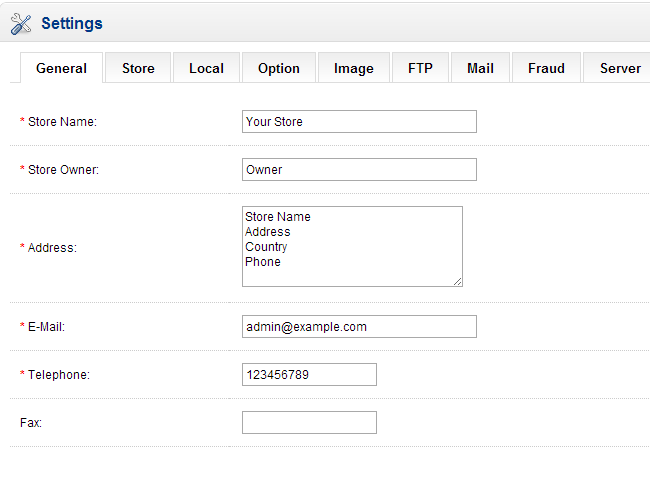
This will redirect you to the General Settings tab via which you can change your Store name, physical address, email and telephone/fax.
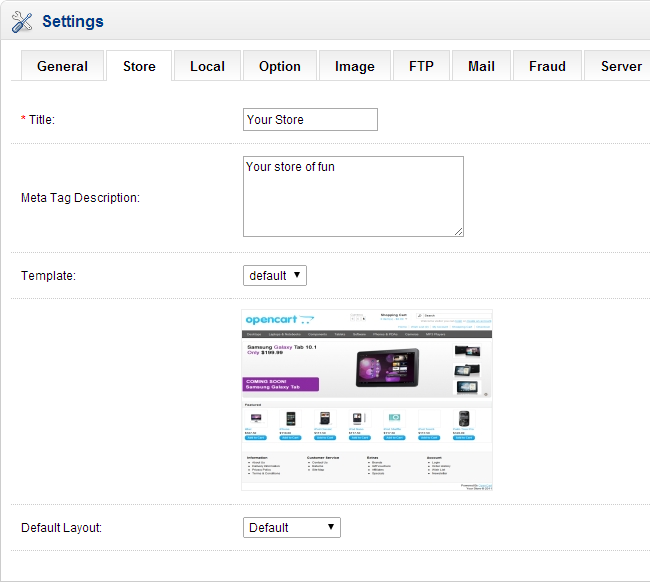
Next, click on the Store tab from the sub navigation menu to input your Store Title and Meta Tag Description. You can also change your OpenCart template via the Template drop down menu or select a different Default Layout. If you would like to install a new OpenCart Template on your store, please check our tutorial on How to install an OpenCart Theme.
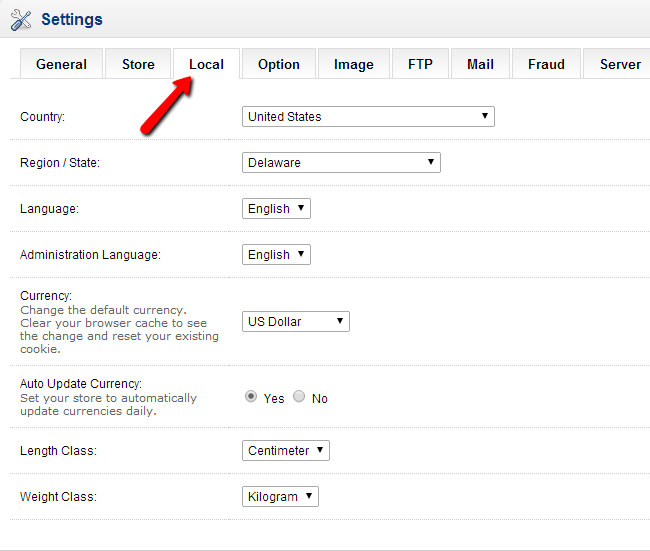
To configure your OpenCart Store Local Settings, please click on the Local tab from the sub navigation menu. Here you can change your store country, region/state, store language, currency, length and weight class.
If you would like to install a new language on your store, please check our tutorial on how to install a new language pack in OpenCart.
The rest of the tabs in this section will be reviewed in details in our next chapters.
On this page...

OpenCart Hosting
- Free Installation
- 24/7 OpenCart Support
- Free Domain Transfer
- Hack-free Protection
- Fast SSD Storage
- Free OpenCart Themes
- Free OpenCart Transfer
- Free CloudFlare CDN
