How to Configure the Regional Settings of your website
Updated on Mar 13, 2019
The Regional and Language settings of your website can be easily configured via the admin area of the Open Atrium platform. Usually such changes are performed if you would like to change the Time Zone of your website and in the next few lines we will present you with more information on how this should be done.
The Regional configuration process in Open Atrium includes:
Step 1 Configure the Regional Settings
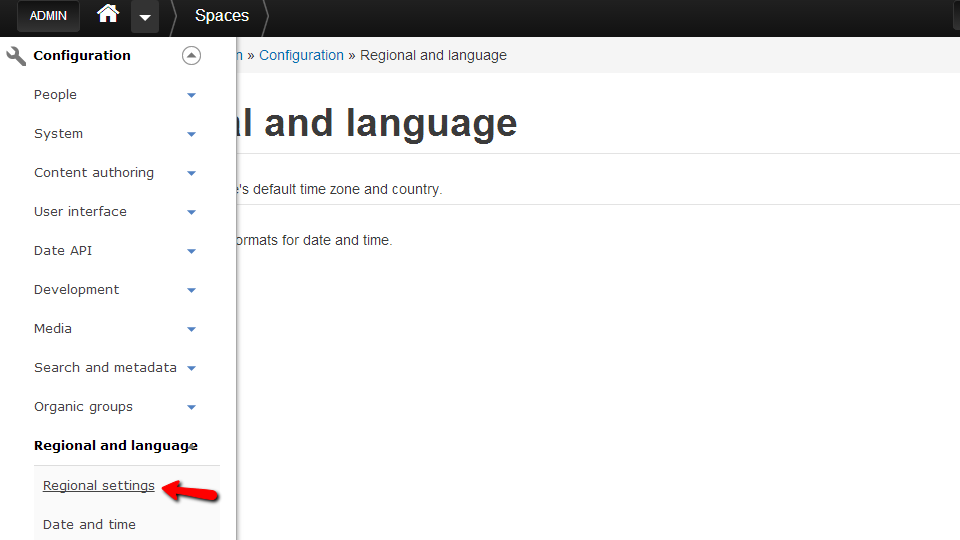
In order to configure the regional settings of your website you will need to navigate to Admin > Configuration > Regional and language > Regional settings.
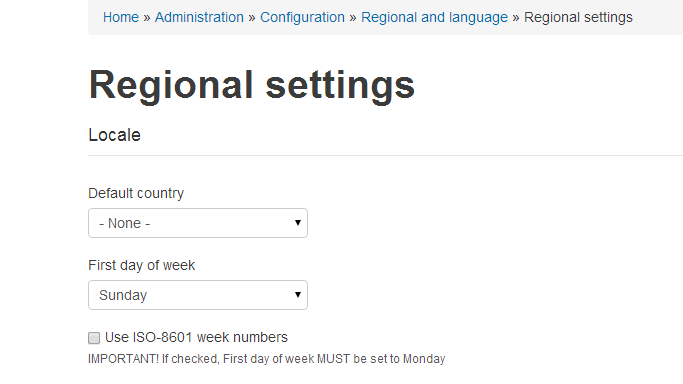
The regional settings page is separated on two section – Locale and Time Zones. Let’s review the Locale section. There you will be able to set the Default country and the First day of week depending on the location you are at.
The second section called Time Zones will provide you with the options to configure your Default time zone and also the option to allow the users of your website to set their own time zone. Also there you will be able to find the setting for the time zone used by the newly added users to your website.
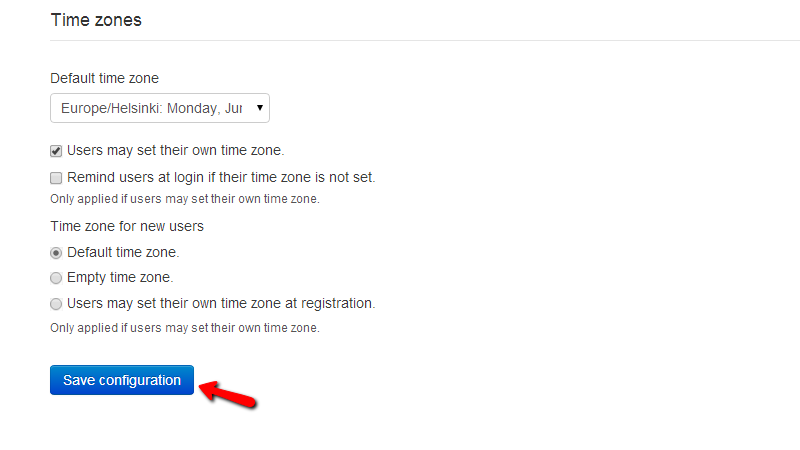
Please use the Save Configuration button once you are ready with the configurations on this page.
Step 2 Configure the Date and Time Settings
The Date and Time settings are available in the next configuration page accessible via to Admin>Configuration>Regional and language>Date and Time.
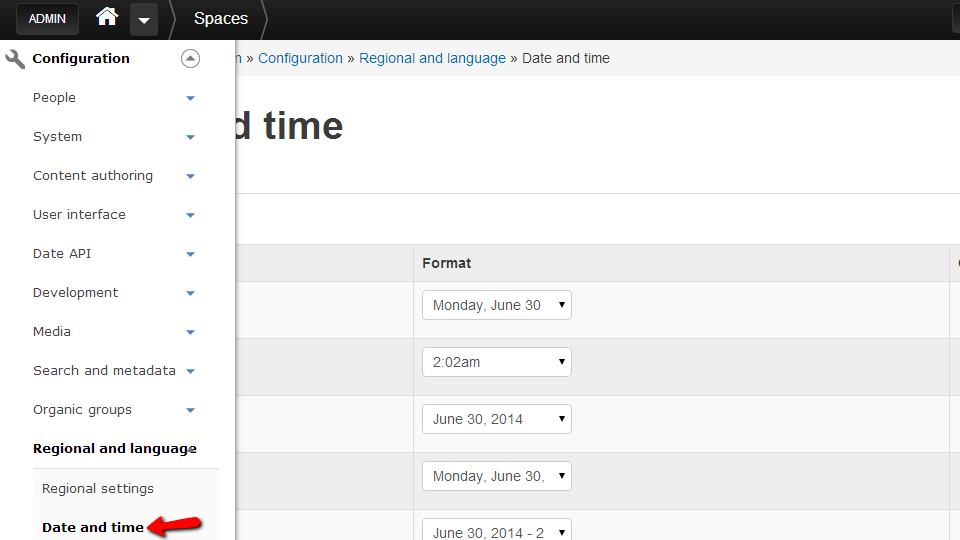
At the landing page you will notice how this page is separated on two tabs – Types and Formats where you will be able to perform the settings you need to.
Let’s review the first tab called Types. The tab provides you with the Data types supported by the Open Atrium platform. There you should be able to configure the structure of displayed data for each type of data listed.
Additionally you have the option to add your own data types by simply clicking the Add data type link.
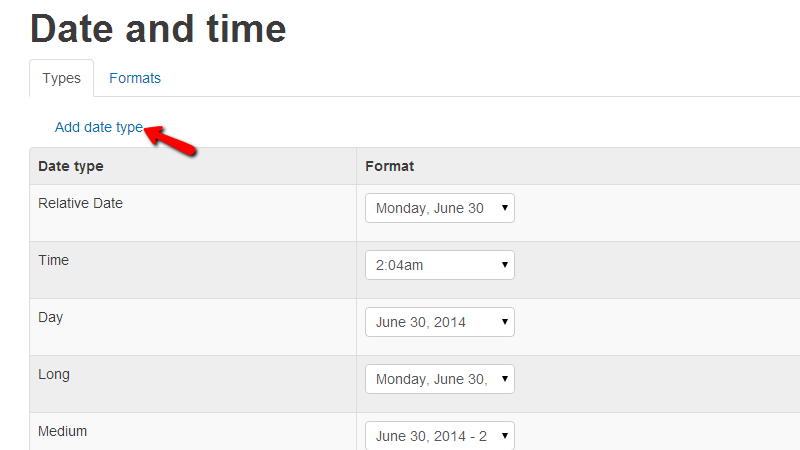
Then you will be prompted to enter the Data type and also to choose the Date Format for the newly created data type.

Once you are done with these changes please click on the Add data type button so your new custom data type to be added.
The second tab as we have mentioned is called Formats and by default there will be no entries there. This tab is used if you would like to add your own custom date/time formats. Let’s add a new one. Please click on the Add format link just below the Formats tab and then you will be able to enter the format abbreviation.
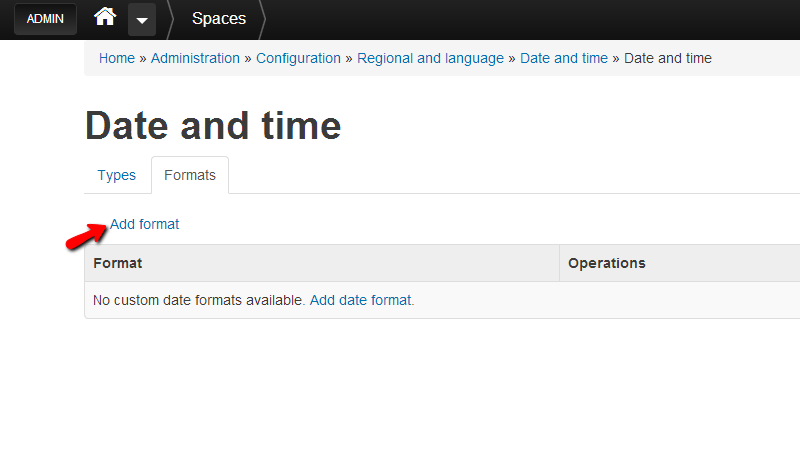
Keep in mind that the configuration of the format needs to be performed considering the official php manual related to the date function. For example if we would like to have a format of the date like “05-16-18” we should add “h-i-s” in the Format String field.

Then you should press the Add format button and your new format will be properly added.
Congratulations! You now know how to configure the regional settings of your website!
On this page...

Open Atrium Hosting
- Free Open Atrium Installation
- 24/7 Open Atrium Support
- Free Domain Transfer
- Hack-free Protection
- Fast SSD Storage
- Free Cloudflare CDN
- Free Open Atrium Transfer
- Immediate Activation
