How to Manage Menus in Open Atrium
Updated on Mar 13, 2019
In order to manage the menus on your website Open Atrium provides you with a separated page where all of the sections containing menus are displayed. In this tutorial we are going to show you how to fully manage the menus on your website.
To Manage the menus in Open Atrium, you need to:
Step 1 Add a Menu Item
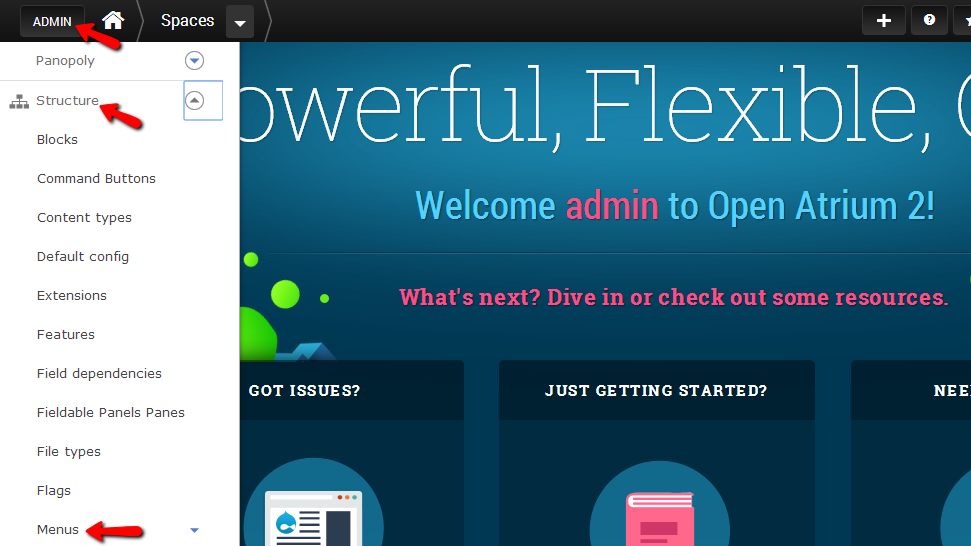
In order to access the menu management page you will need to navigate to Admin>Structure>Menus.
Then you will be redirected to the Menus page where you will be presented with the areas where you can add menu items. In order to do so you will need to click on the add link button next to the area you would like to add the menu.
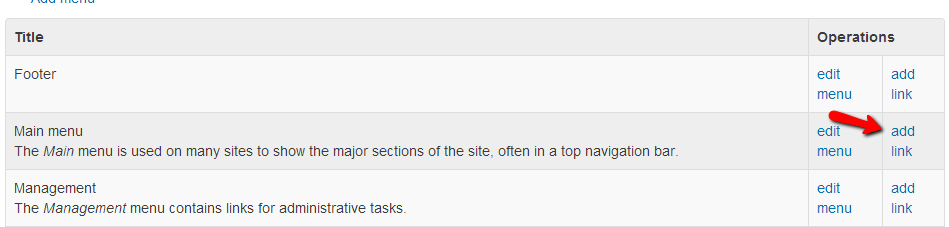
For the purpose of this tutorial we are going to add a link to the Main Menu section. Once you click on the add link button you will be presented with the menu creation page. There you will need to configure the Menu link title, Path, Description and few other options.
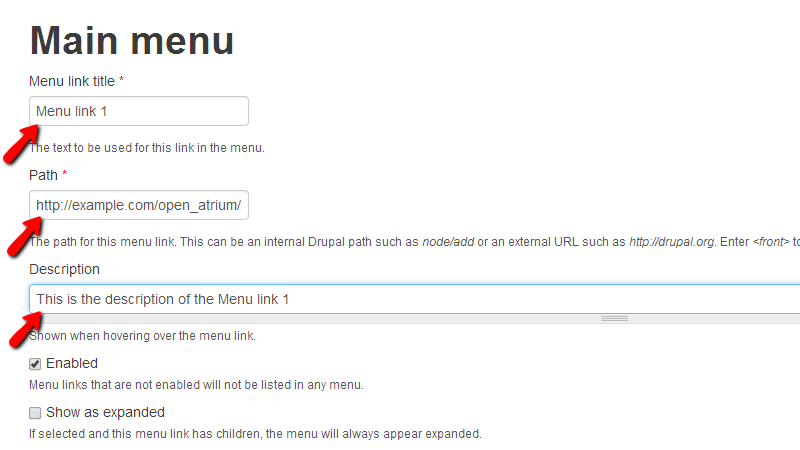
Once you are done with the configuration please click on the Save button at the bottom of the page.

On the next page you will be able to configure where the menu item you have added should be placed in the order of the main menu. The interface on the next page is relatively simple and you will be able to drag-and-drop the menu item to the position you would like to.
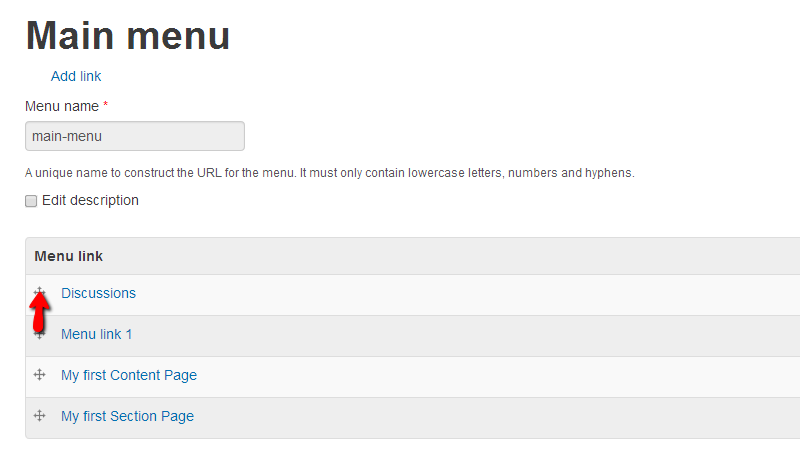
We have moved the link to the first position in the menu before our Discussions link and here is how the link look like in the menu.
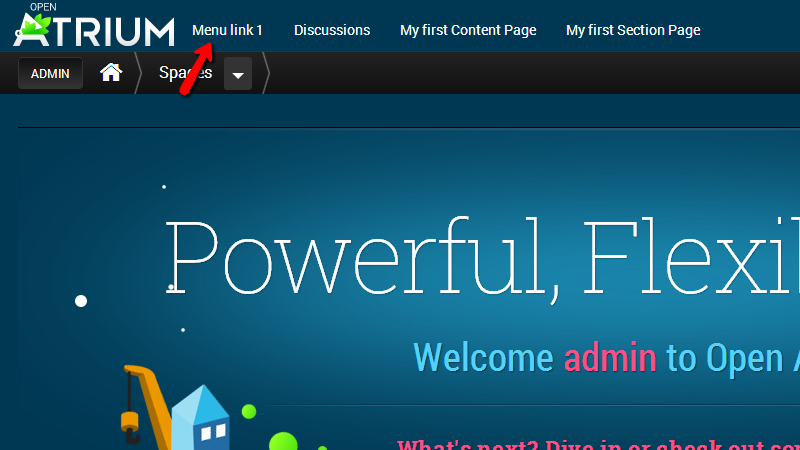
That is how you should add a link to any of your menus on your website.
Step 2 Edit the Menu Sections Links
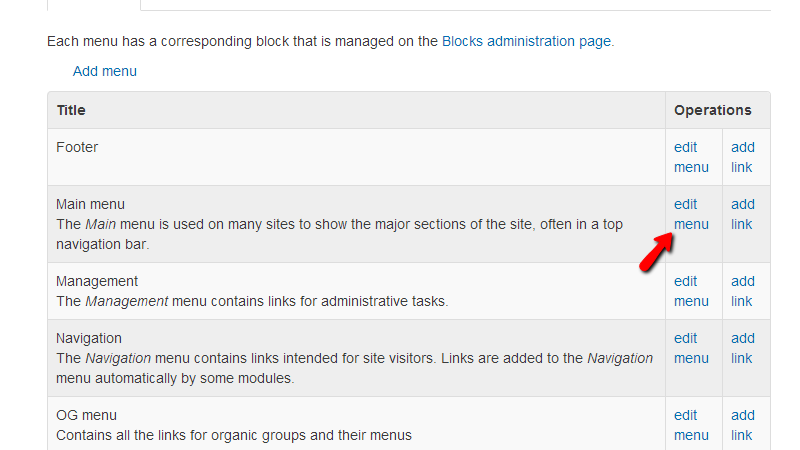
In order to edit the order, delete a menu item or edit a link information you will need to click on the edit menu link next to the menu section you would like to edit the links for.
On the next page you will be redirected to you will be able to edit the order of the menu items and of course the information for every menu item.
Once you have finished the editing please press the Save button at the bottom of that page so you can be able to save the changes you have performed.
Step 3 Add a Section of Menus
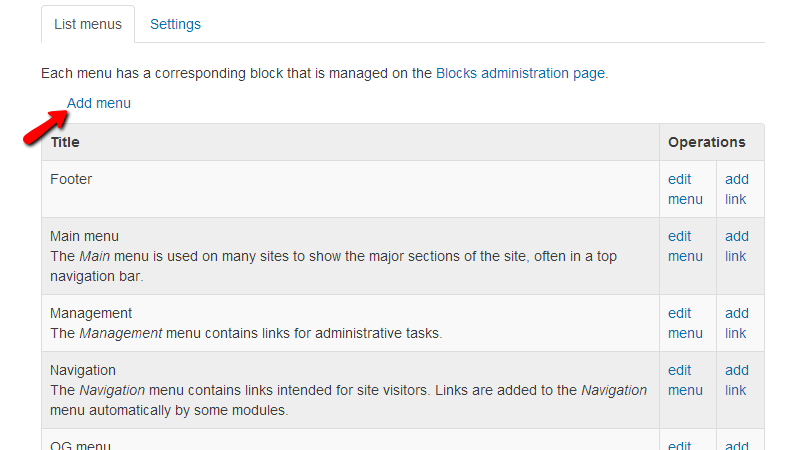
If you would like to have a separate section of menus added to your website you should click on the Add menu link at the top of the table view with the menu sections.
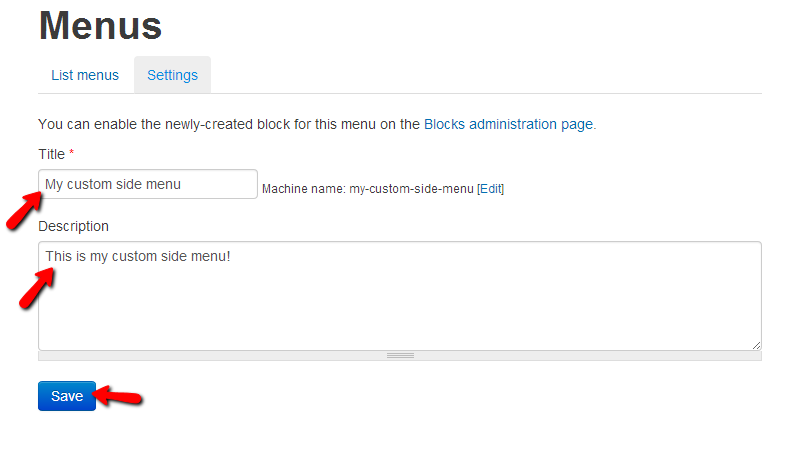
The next page is relatively simple to handle. There you will need to fill the Title and the Description of the new menu section and then to press the Save button at the bottom of the page in order for the new menu section to be added.
On the next page you will be able to add some menu items to the newly created menu. Note that in order to configure the menu section’s location you will need to edit the blocks on your website.
Congratulations! You now know how to manage the menus of your website!
On this page...

Open Atrium Hosting
- Free Open Atrium Installation
- 24/7 Open Atrium Support
- Free Domain Transfer
- Hack-free Protection
- Fast SSD Storage
- Free Cloudflare CDN
- Free Open Atrium Transfer
- Immediate Activation
