How to activate the Maintenance Mode in Open Atrium
Updated on Mar 13, 2019
If you would like to update your website to its latest version or if you are planning some major change in the content of the website you will need to consider activating the Maintenance mode of the Open Atrium platform which will disable the users from taking actions on your website. In the next few lines of this tutorial we are going to show you how to activate this mode.
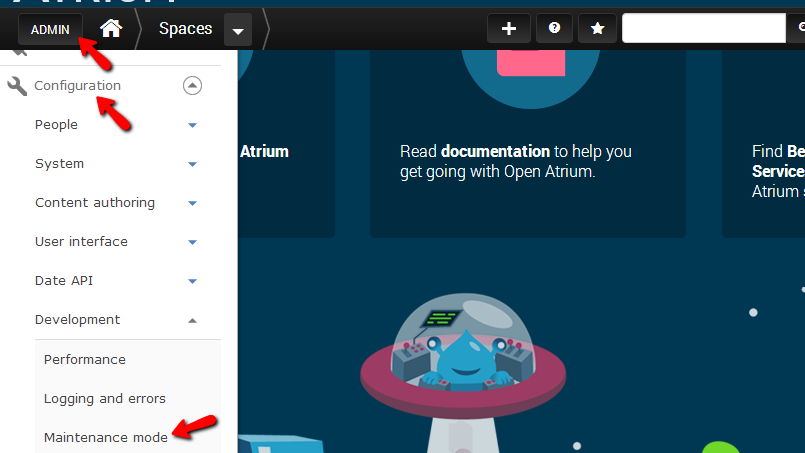
Let’s begin by accessing the Maintenance mode page located in the Admin>Configuration>Development> Maintenance mode menu.
This will direct you to the Maintenance Mode configuration page where with few simple settings you will be able to activate the maintenance mode.
Let’s review the configuration options. First and most importantly you will notice the “Put site into maintenance mode” checkbox which you will need to check if you would like to put the whole website into maintenance mode.
Next you will be presented with a text box where you will be able to configure the message which will be shown to your users while the website will be in maintenance mode.
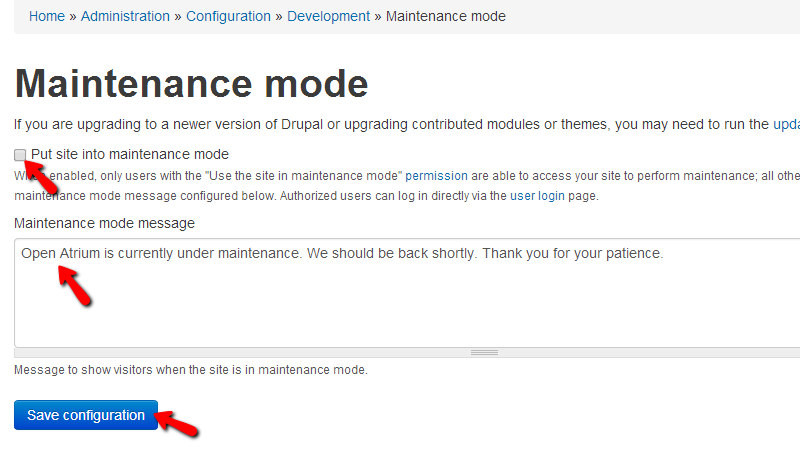
Of course once you are ready with the configuration and you would like to have the maintenance mode activated simple press the Save configuration button.
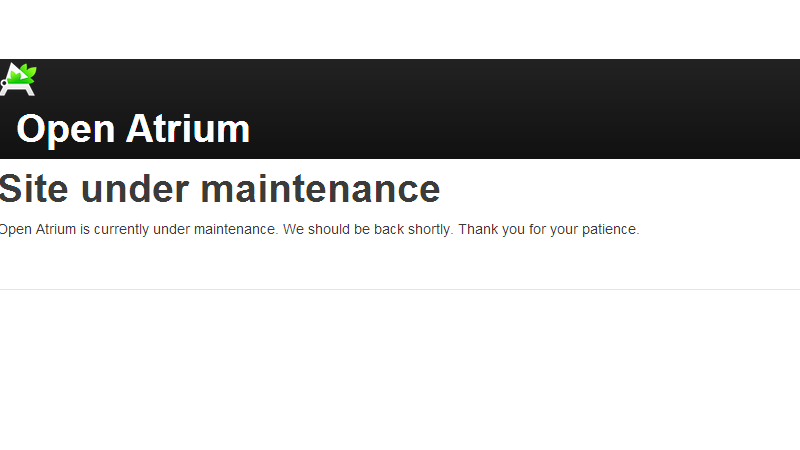
Then all of the users will see the following maintenance page:
Congratulations! You now know how to configure and activate the maintenance mode of your website!
On this page...

Open Atrium Hosting
- Free Open Atrium Installation
- 24/7 Open Atrium Support
- Free Domain Transfer
- Hack-free Protection
- Fast SSD Storage
- Free Cloudflare CDN
- Free Open Atrium Transfer
- Immediate Activation
