How to setup rules (filters) in Apple Mail
Updated on Mar 13, 2019
Rules in Apple MAC mail are specific options you can configure in order for the mail client to take certain action for incoming emails matching their contents. This is particularly useful if you would like to store certain emails in different than the default Inbox folder. For example you can configure all of your work related emails to be automatically moved to the work folder.
Let's begin by accessing the Rules section. This section is available under theMail menu → Preferencesand then by manually clicking on the Rules tab from the top horizontal tool box.
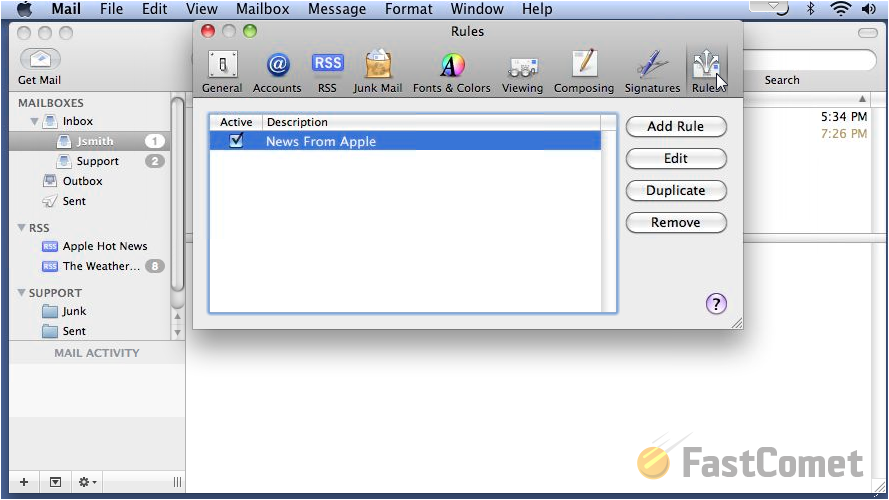
In order to add a rule simply use the Add Rule button. In the newly appeared section you will be able to fully configure the new rule you are adding. The rule contents are:
- Description - Short description on what this rule will be used for.
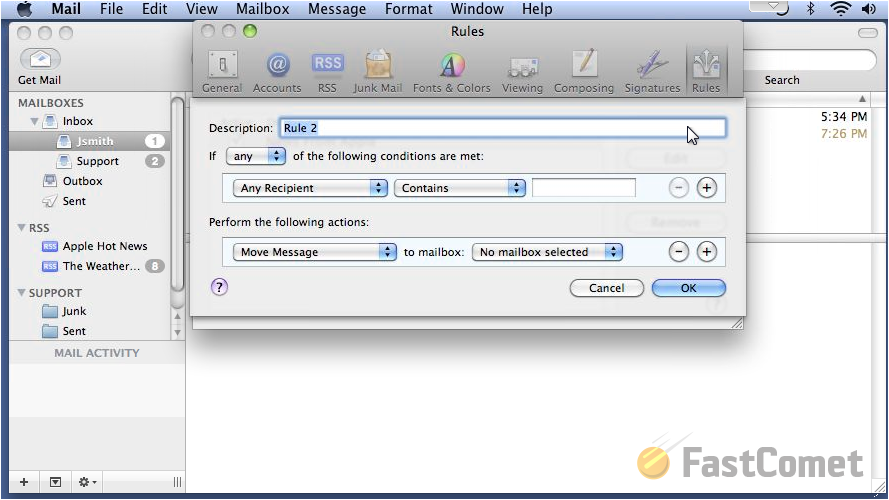
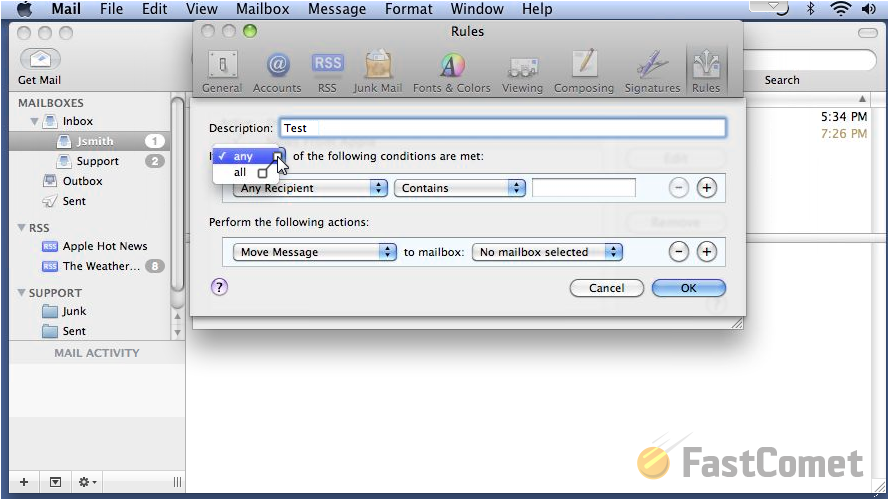
- Any/ALL - This options is if any or if all of the conditions listed below that option should be met. Think of that options like if all is selected then every single of the bellow configured conditions should be met and if any is selected then even a single condition will be enough to trigger this Rule.
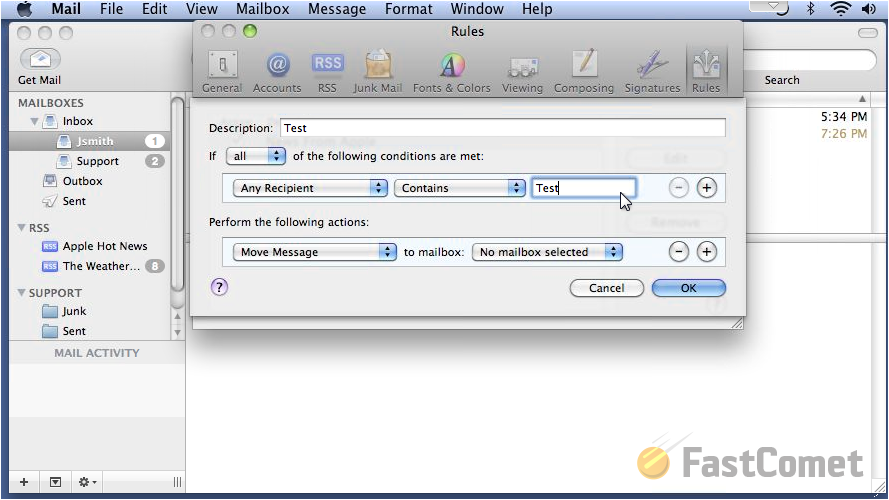
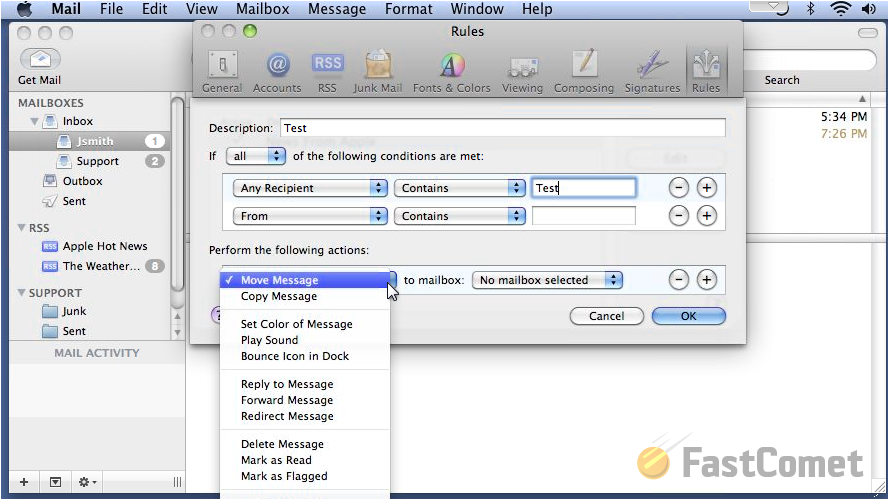
Next you will find the conditions line. For example let's set a condition where any mail containing the word Test will be sorted. This can be easily achieved by selecting Any recipient from the first dropdown list, Contains from the second and lastly you should fill the word that should be matched in this case Test.
You will notice how at the end of the condition there are "+" and "-" signs. These are used to respectively add or remove a condition.
At the next section you will notice that you will need to configure the actions that should be taken when the configured conditions are met.
Let’s say for example that we would like to move the messages matching the above configured conditions to the Support folder. Then the actions configuration should look like the following.
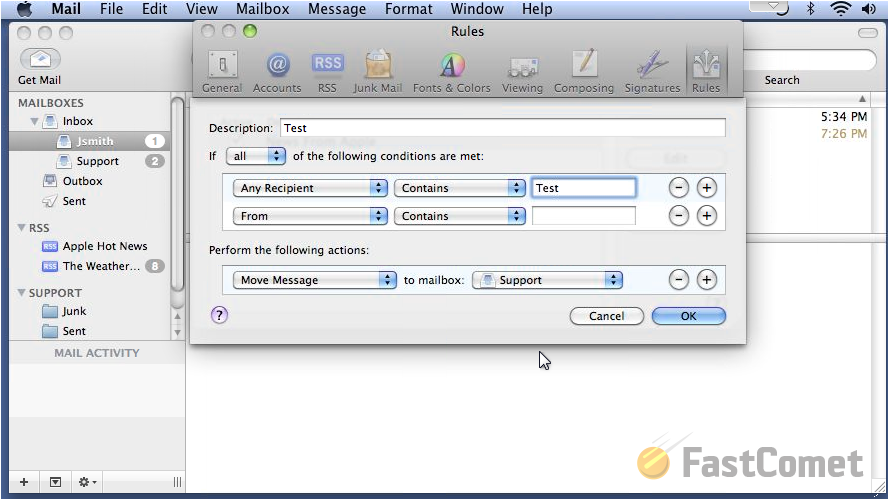
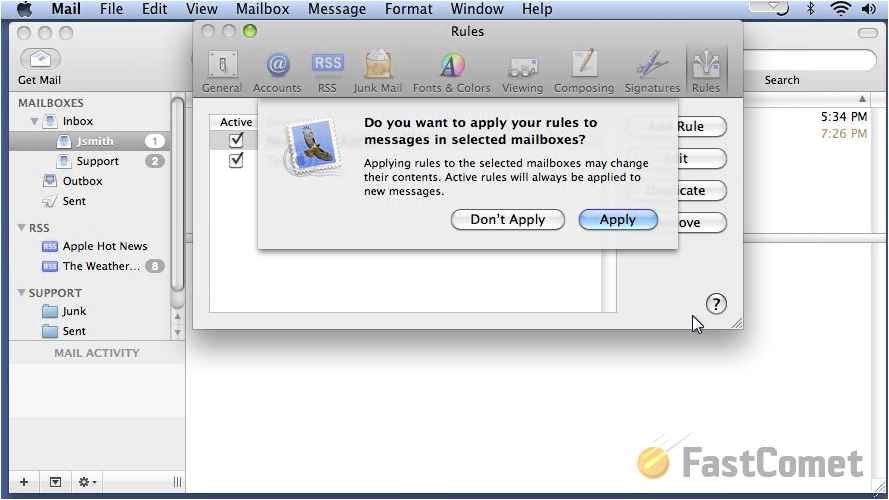
Finally you should click the Ok button from this section and finally the Apply button so the filter can be applied to the initially selected mail account.
Congratulations! You can now configure Rules for your incoming emails in your Apple MAC email client.
On this page...

Mail Hosting
- Free Domain Transfer
- Unlimited Email Accounts
- 24/7 Technical Support
- Fast SSD Storage
- Hack-free Protection
- Free Cloudflare CDN
- Immediate Activation
