How to configure WinSCP
Updated on Dec 10, 2015
This tutorial will review the steps for a WinSCP configuration. This will allow you to connect to your account on the server and work on your website over FTP. For that purpose, you first need to download and install the FTP client via the official WinSCP website.
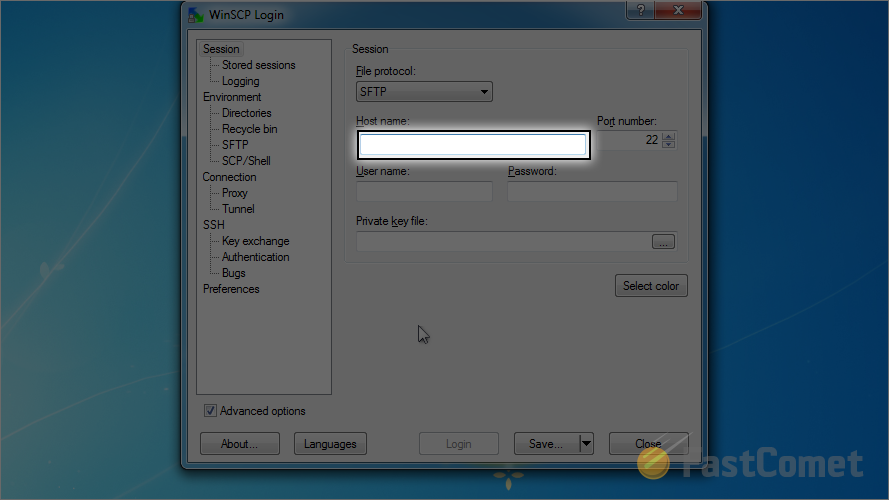
When you install the WinSCP on your local computer, you are ready to start it's configuration. The first step is to enter the FTP hostname of the server.
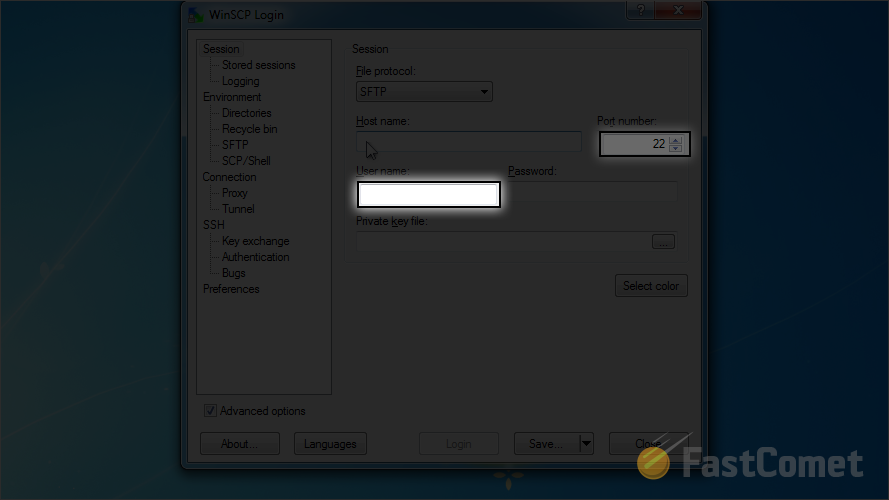
You can leave the port number set to the default value, unless your server is set with a specific configuration. The next step is to enter your FTP Username.
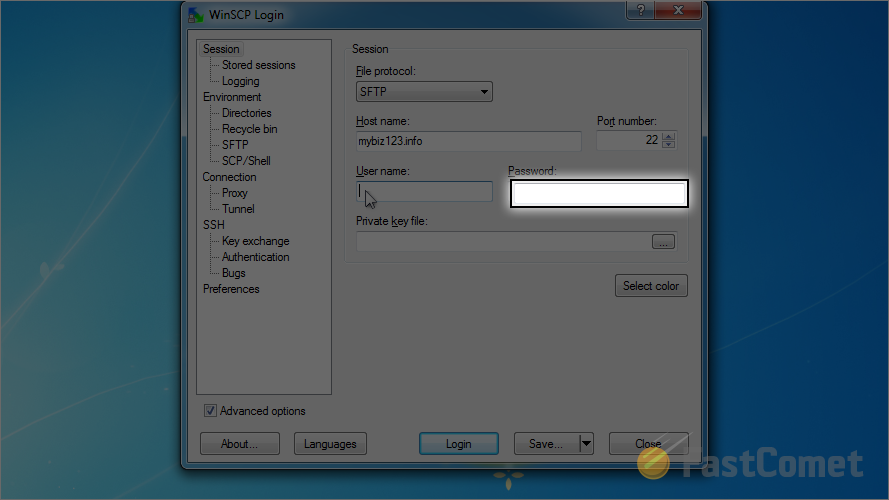
The third step is to enter the password for the FTP user that you set in the previous step.
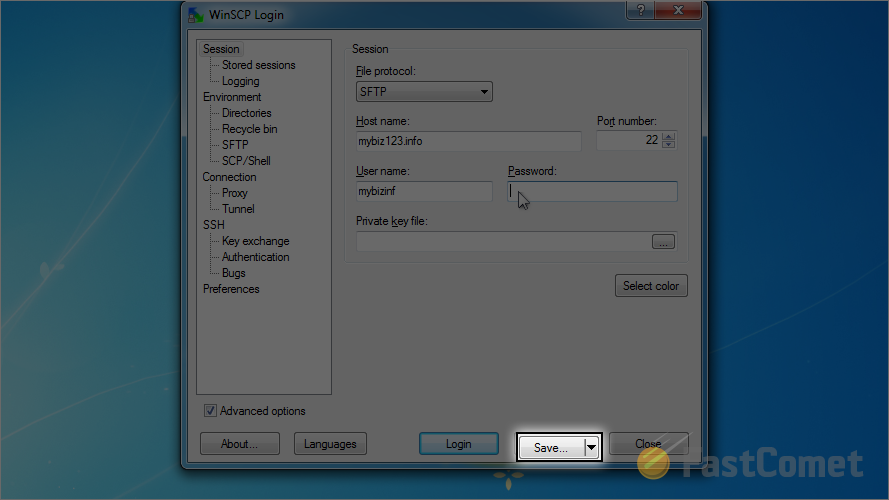
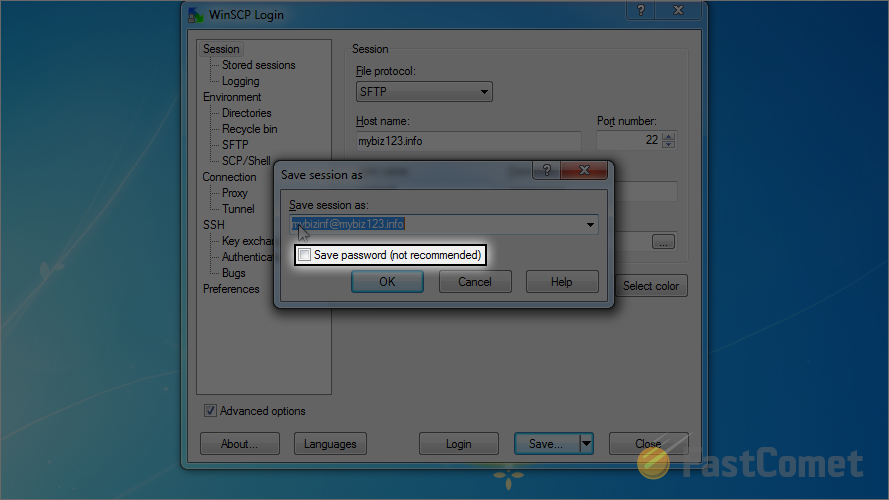
Click on the Save button in order to keep the details for your FTP account. This will allow you to use them later with a click of a button, instead of entering those values over and over again.
Check the Save Password option and then enter the name for the FTP session. When you are ready, click on OK to save it.
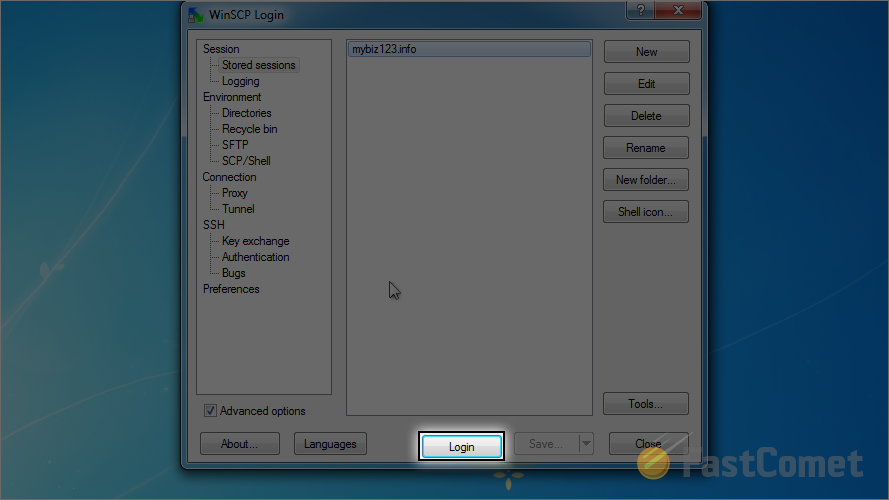
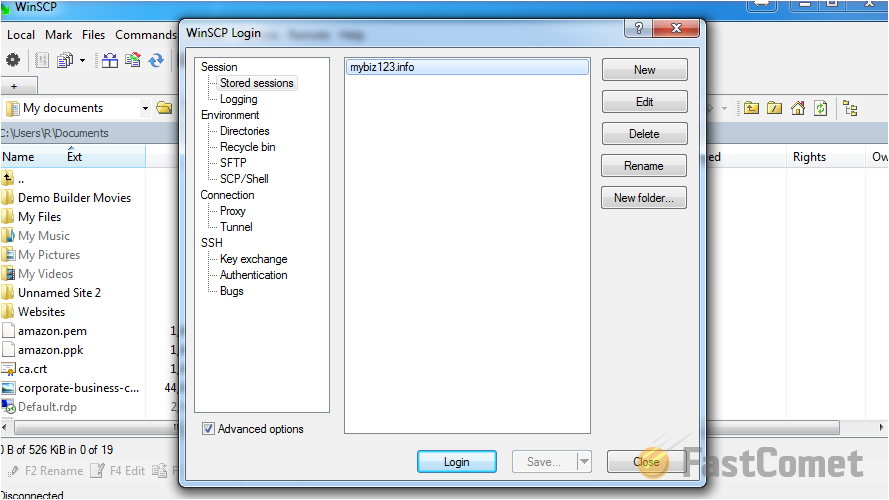
When the FTP session is saved, you can simply select it and then click on Login.
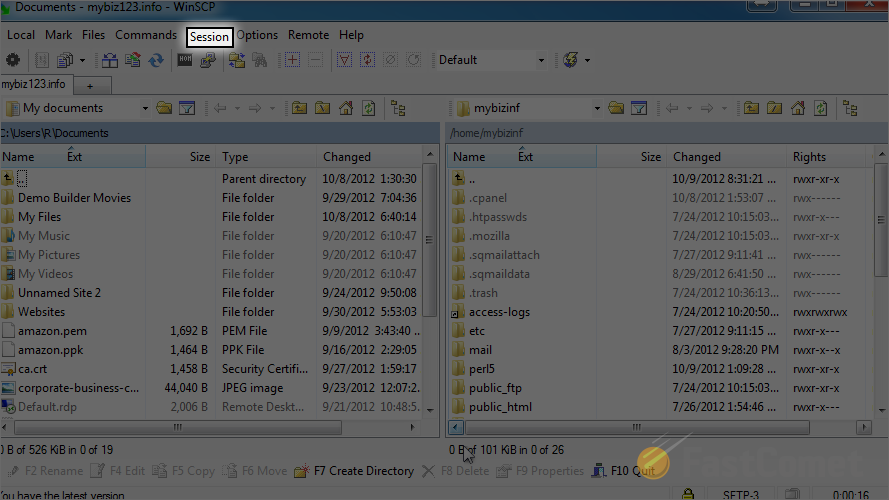
You can also easily disconnect from the server. For that purpose, choose the Session tab from the main menu.
Select the Disconnect option.
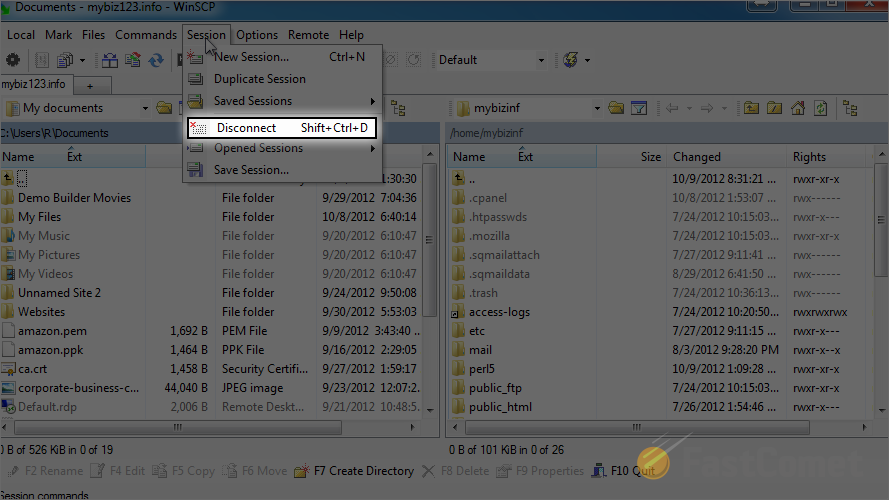
That's it! You have disconnected from the server and you will be able to connect again easily, using the saved session that we have created.
On this page...

FTP Hosting
- Free Domain Transfer
- 24/7 Technical Support
- Fast SSD Storage
- Hack-free Protection
- Free Script Installation
- Free Website Transfer
- Free Cloudflare CDN
- Immediate Activation
