How to configure SmartFTP
Updated on Dec 10, 2015
We will review how to configure SmartFTP client. In this tutorial, we are assuming that you have already downloaded and installed it on your local computer. If you did not, you can download the FTP client via the official SmartFTP website.
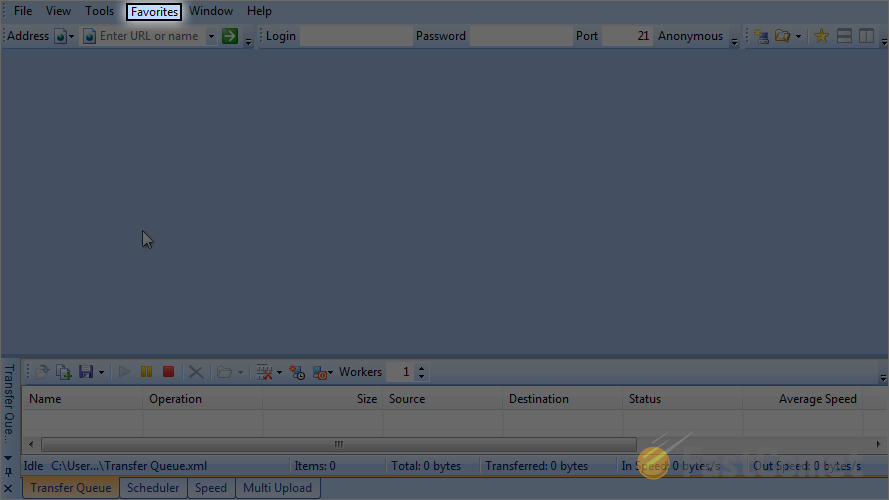
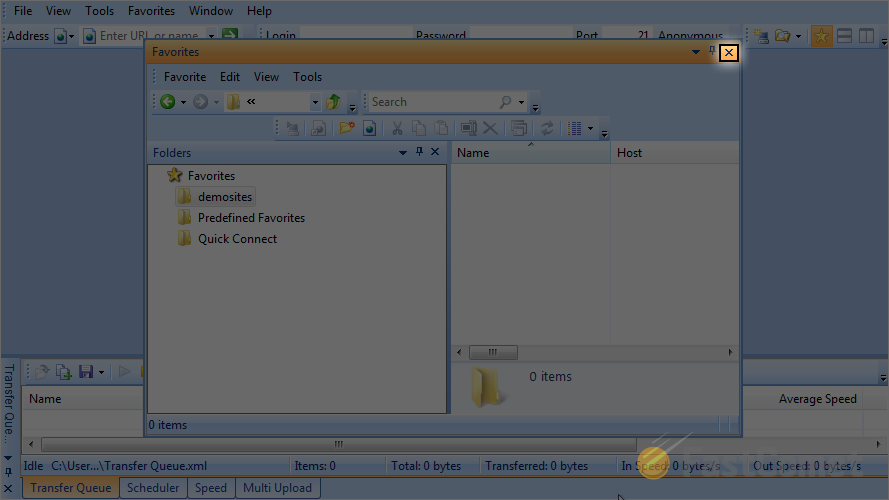
To configure your website FTP details in SmartFTP, simply click on the Favorites button at the top menu.
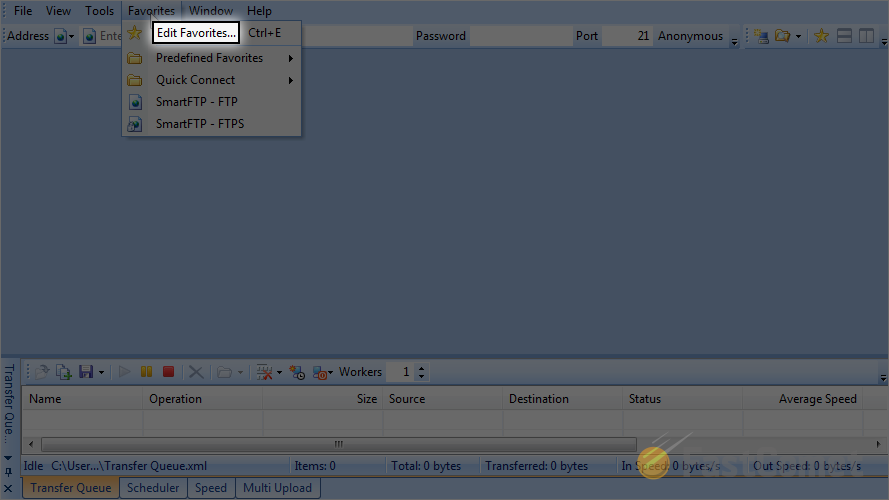
Select the Edit Favorites option.
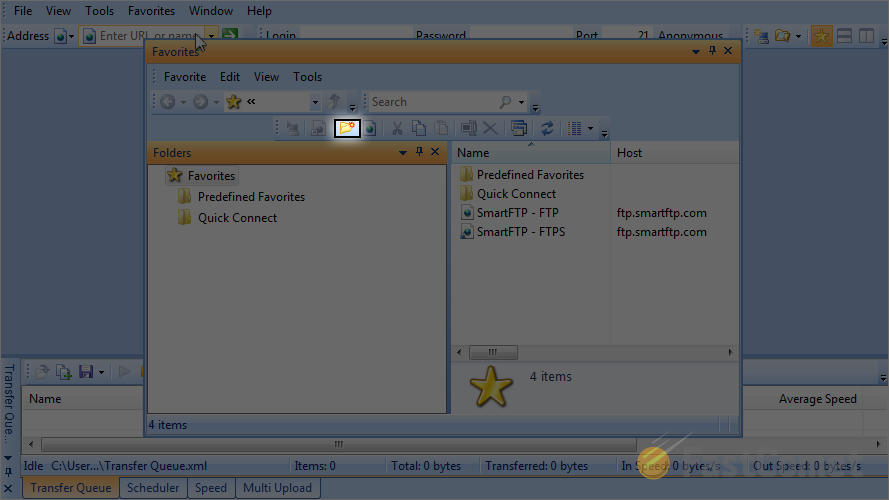
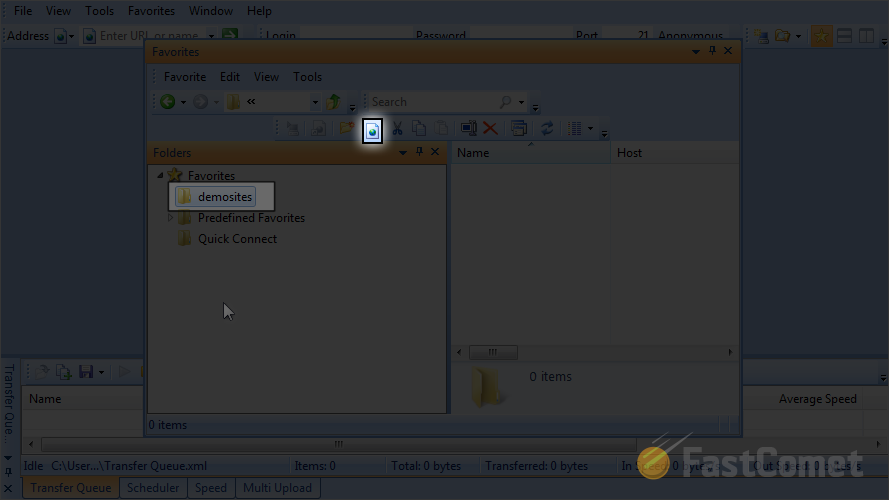
You have the ability to add your website FTP details or to create folders. The use of folders will allow you to group more than one FTP account within your SmartFTP client and group them by their similarities. To create a new folder, click on the new folder icon.
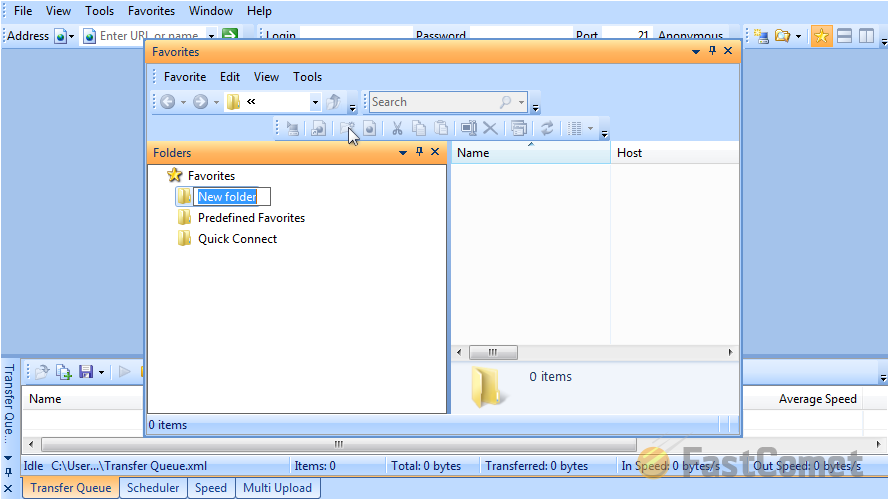
Enter the name of the new folder. When you are ready, simply hit Enter on your keyboard to keep the changes.
Now, let us add the actual FTP login details for our website. Select the folder that we have created and then click on the new favorite icon.
Enter the name of the new website. This is for your own reference only. Then you also need to enter the Host Address. If your domain is pointed to the server that you are attempting to access over FTP and it has propagated fully, this means that you can use it for the Host Address. You can enter domain.com, ftp.domain.com or the actual IP address of the server. Make sure that you substitute the domain.com part with your actual domain.
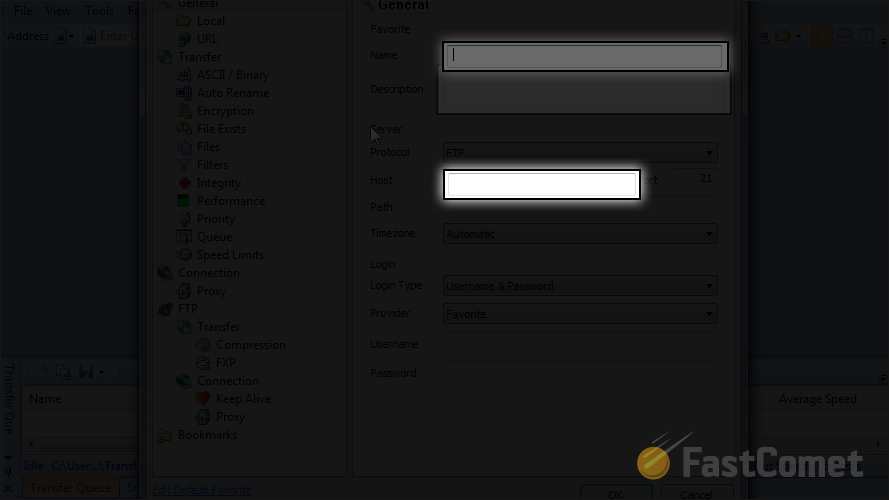
If you have a particular folder that you wish to access, you can specify it's path here.
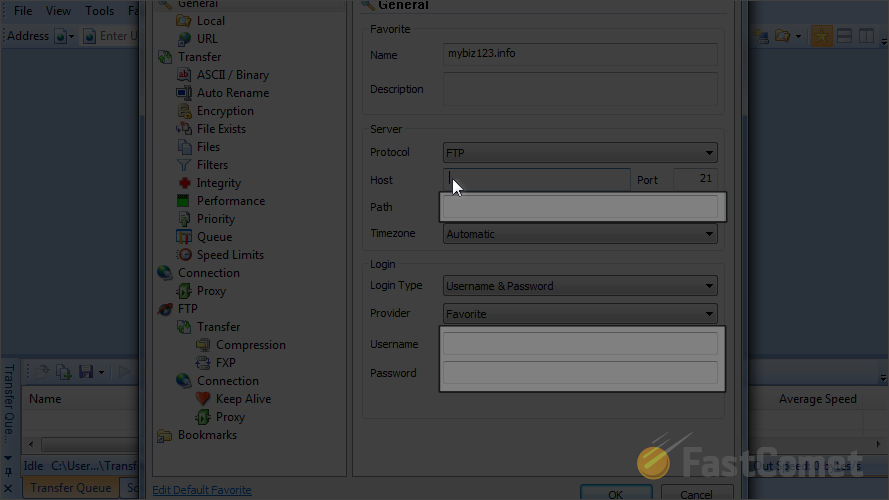
Enter the FTP Username and FTP Password for your account.
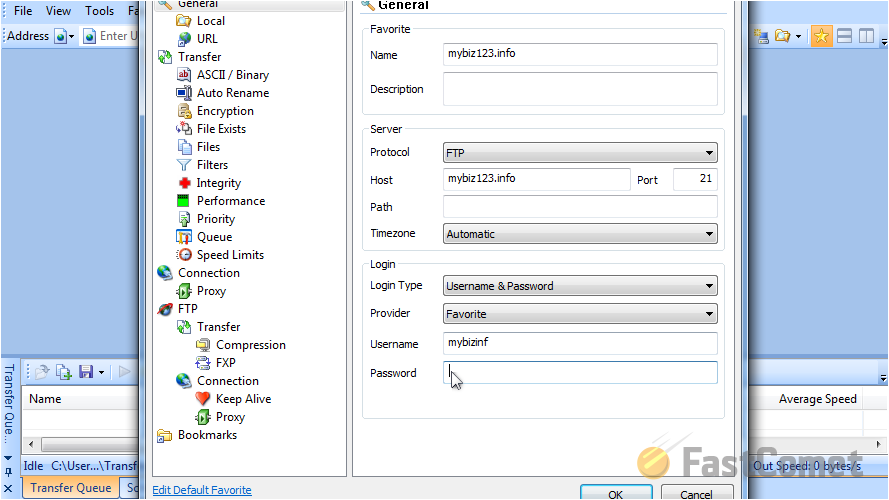
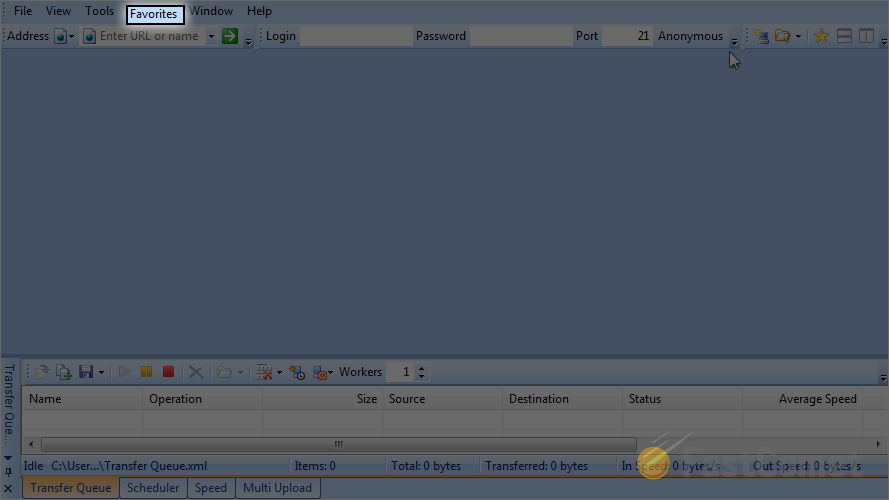
When you are ready, click on the OK button to keep the details. Now, let us check if they are saved within your SmartFTP client. Close the favorites window.
Select the Favorites tab from the main menu again.
Move your mouse over the folder that we have created.
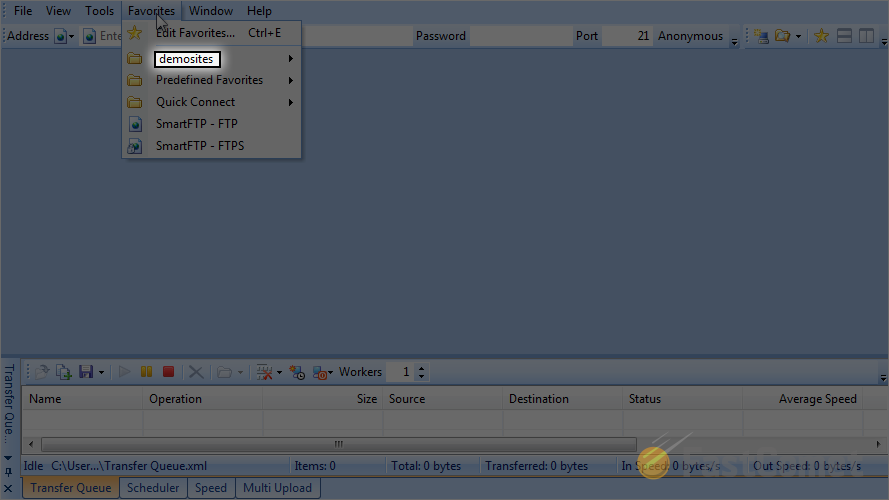
Click on the label that you chose for your website's FTP account.

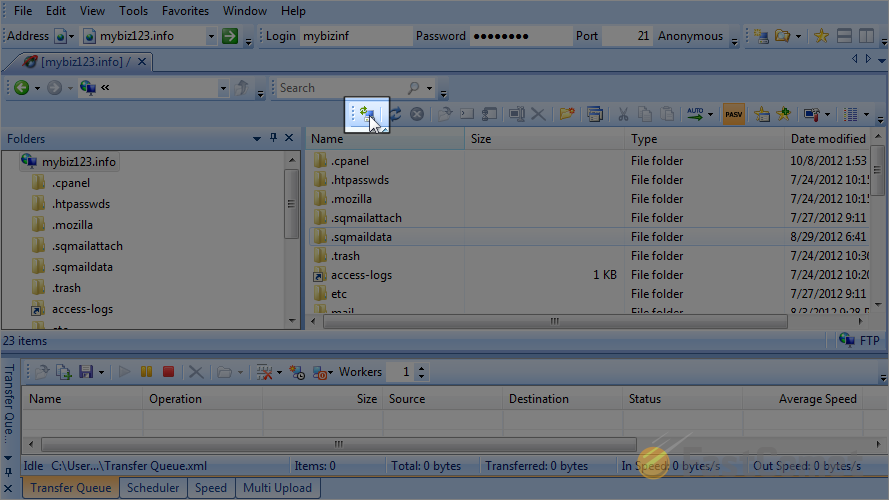
You have successfully accessed the server over FTP with the details you specified above. Note that when you are connected, you will notice a computer icon, with a red square next to it, as shown on the screenshot below.
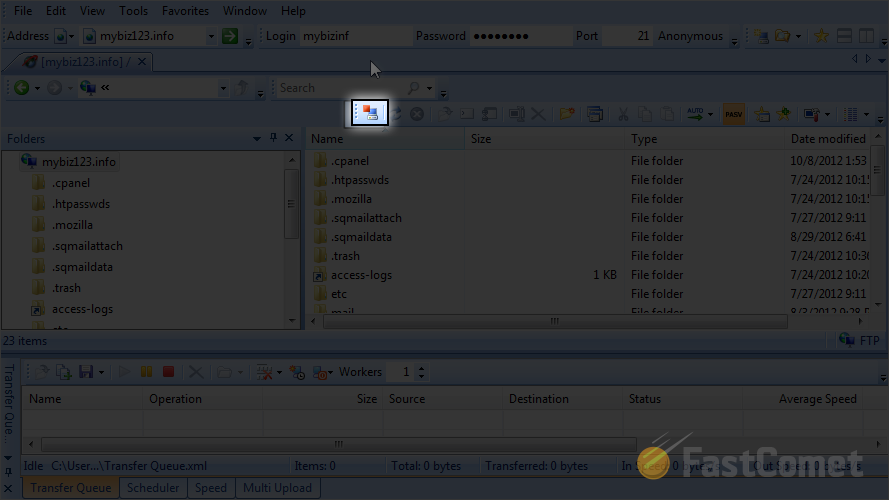
If you wish to disconnect, you can simply click on the same icon.
On this page...

FTP Hosting
- Free Domain Transfer
- 24/7 Technical Support
- Fast SSD Storage
- Hack-free Protection
- Free Script Installation
- Free Website Transfer
- Free Cloudflare CDN
- Immediate Activation
