CS-Cart Installation via Softaculous
Updated on Mar 13, 2019
Warning
The free version of CS-Cart has been discontinued on May 18, 2016. As Softaculous does not support trial or paid versions they have removed the script from its list rendering this Tutorial out of date. Check our "How to Install CS-Cart manually" tutorial for a guide on how to start using this platform.
This tutorial will follow the steps for installing CS-Cart automatically, using the Softaculous auto-installer. The process is as easy as possible and it requires only a few clients for a full completion. We will review the entire process so you can get a better understanding of how it works.
To install CS-Cart via Softaculous, you need to complete these steps:
step
Access Softaculous via cPanel
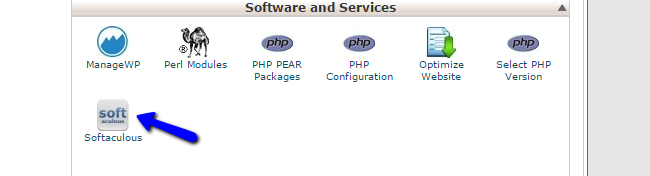
The first step is to access the Softaculous auto-installer via cPanel. Simply access your account on the server and locate the Software and Services section on the page. Click on the Softaculous icon to proceed.
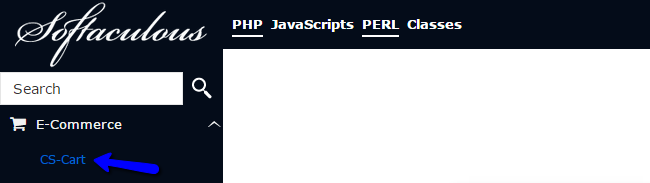
You will be presented with a list of all available scripts for free installation. They will be located on the left side of the screen, following a certain criteria. In the search box on the left, simply enter CS-Cart and click on the application's name.
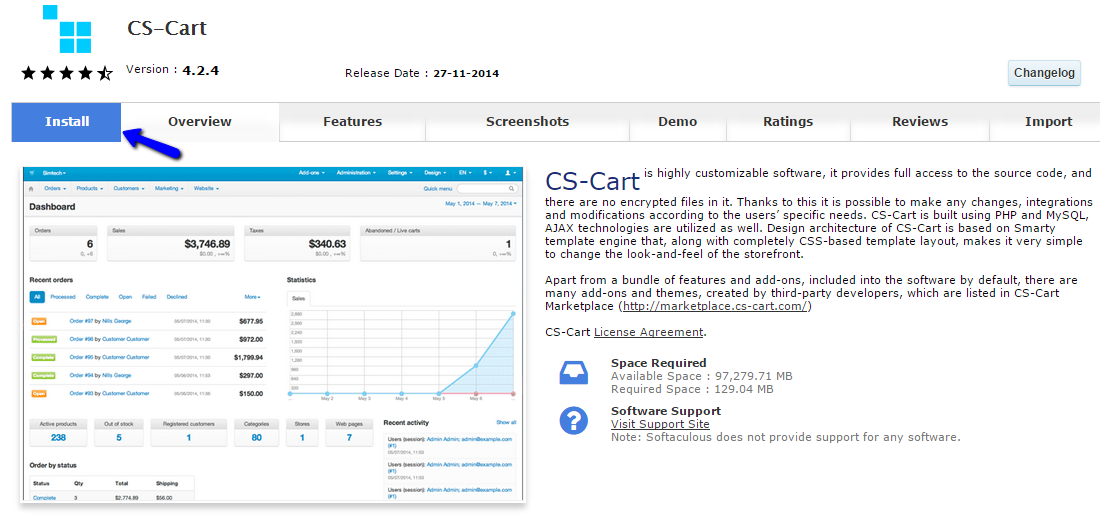
You will be presented with information about CS-Cart and what it does. You will also be able to see reviews for the application, live demo and much more. Click on the Install button to proceed with the actual process.
step
Initiate the CS-Cart Installation
The installation via Softaculous allows you a few configuration steps, before you can initiate the actual installation process. They are divided into three different section for easier configuration.
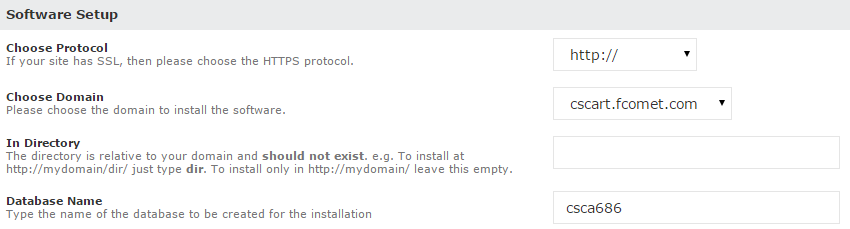
The first section is called the Software Setup. The options it provides are:
- Choose Protocol - Select the protocol to be used on your new website. Make sure that you do NOT select the secured https protocol if you do not have a valid SSL certificate on your domain. This is an extra service that you can get via your Client Area;
- Choose Domain - Select the domain that you wish to use for the new installation of CS-Cart. If you have any addon or subdomains, they will be available within the drop-down box as well;
- In Directory - This option allows you to set the new installation within a subfolder of your account. Leave the field blank if you wish to install it in the root directory of your domain;
- Database Name - Set the name of the database to be used on your new website.
The second section is the Database Settings. It allows you to:
- Table Prefix - Set the prefix for all CS-Cart tables on your database. If you are using a database that already contains data, you should specify a prefix to keep it separate from the CS-Cart install.

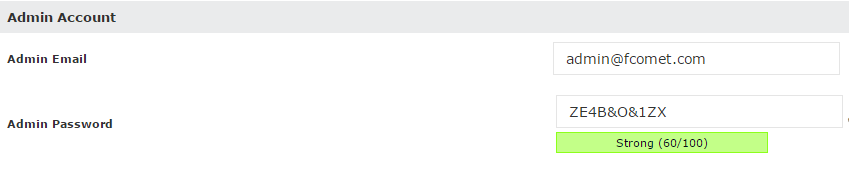
The last step is the Admin Accounts settings:
- Admin Email - Set the email address for the administrative user on your website;
- Admin Password - Set a password for the admin user.
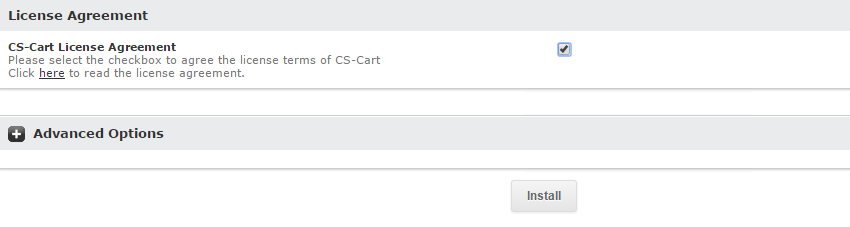
Once you are ready with the details above, simply read and accept the license agreement of CS-Cart. Then click on the Install button below to initiate the installation process.
The system will handle the actual installation process automatically for you.
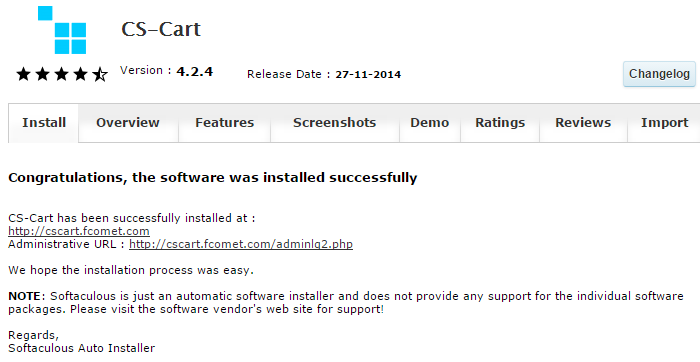
This can take up to a few seconds and then you will be presented with information about your new install. Keep the details safe as you will need them to manage your new website.
On this page...

CS-Cart Hosting - free features
- Free CS-Cart Install
- 24/7 Expert Support
- Free Domain Transfer
- Hack-free Protection
- Fast SSD Storage
- Free CubeCart Transfer
- Free Cloudflare CDN
- Immediate Activation
