How to Manage User Groups in b2evolution
Updated on Dec 10, 2015
If you have a large number of people working on your website, you can easily manage them by grouping certain users together. You can specify the actual rights for the entire group and then add users to it.
This technique will allow you to manage users in groups, instead of each user separately. This is a major time-saver and it is an important aspect of the website development as well.
To manage the user groups on your website, you need to access the Dashboard as administrator first. Click on the User tab at the top menu.

Select the User Groups tab from the available ones in this section.

The management of the user groups involves these actions:
step
Create a User Group
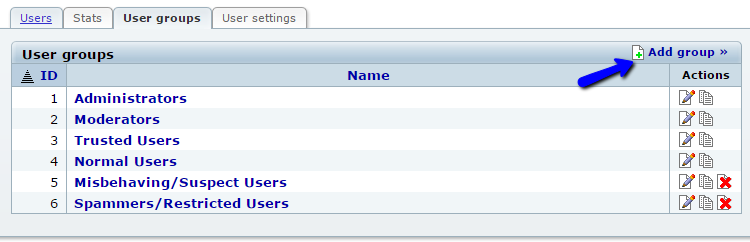
To create a new user group, simply navigate to the User Groups section, as described above. Click on the Add Group button at the top-right corner.
Edit the following options:
- General - This section allows you to enter the name of the new user group and the access it has to the administrative area.
- Blogging Permissions - Review and set the blogging permissions for the new user group.
- Additional Permissions - Set additional permissions for the new user group, such as access to files, stats, etc.
- System Admin Permissions - Allow the access for this user group to admin features.
- Notification Options - Set the notification rights for the new user group.

step
Edit User Groups
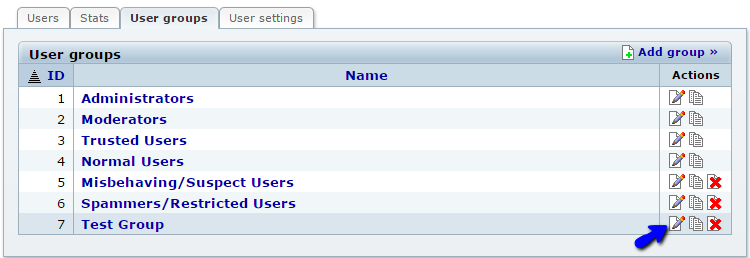
To edit existing user groups on your website, you will have to access the User Groups section again via the admin dashboard. You will see a list of all available user groups on your website. Click on the Edit button next to the one you wish to modify.
Edit the details that you wish to change and then click on the Save Changes button to keep them.
step
Remove User Groups
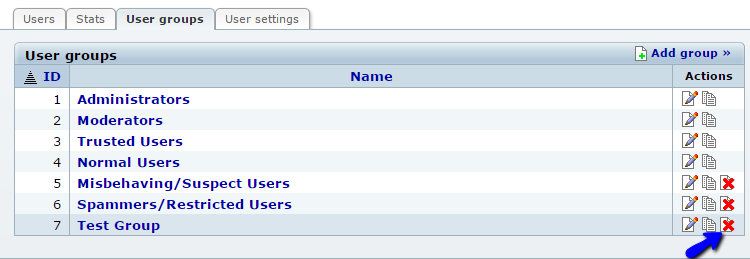
To remove a user group from your website, simply navigate to the User Groups section from the admin dashboard. Then click on the Delete button next to the user group that you wish to remove.
Click on the "I am sure" button to confirm the removal of the user group.

You have successfully removed the Group.
On this page...

b2evolution Hosting
- Free Installation
- 24/7 Support
- Free Domain Transfer
- Hack-free Protection
- Fast SSD Storage
- Free Windu Transfer
- Free Cloudflare CDN
- Immediate Activation
