Manage Product Attributes
Updated on Dec 10, 2015
Adding Attributes to your products will make them easier for comparison by the customer. This will help the customer pick the product that best suits his needs which will increase his satisfaction with your store.
To add a apply Product Attributes, please follow these steps:
- Step 1: Create Attributes Group in Arastta
- Step 2: Add Attributes in Arastta
- Step 3: Add Attributes to Product in Arastta
Step 1 Create Attribute Group in Arastta
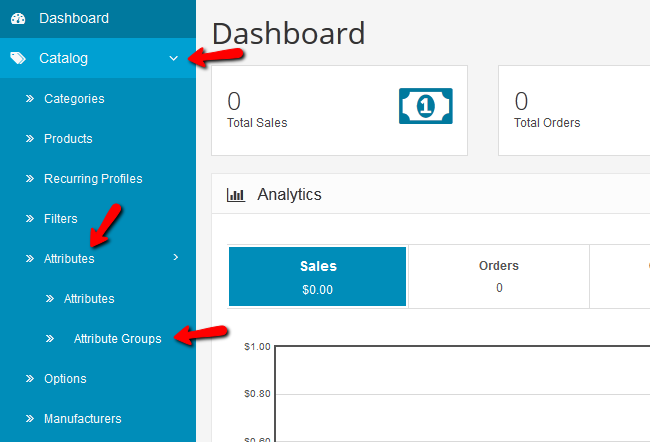
To add attributes in Arastta, you will have to be logged as an Administrator in the back-end of your Store and go to Catalog>Attributes>Attribute Groups.
You may wonder why we didn’t go directly to the Attributes but instead went to Attribute Groups. Well, when you create more than one attribute for the same kind of products you will need a group to keep them. Let us say that we want to add a few attributes for micro processor product. First you will need to hit the green Add New button.
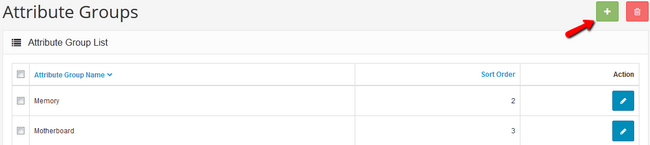
- Attribute Group Name – The name of the Attribute group
- Sort Order – The lower the number, the higher this attribute group will show compared with other attribute groups. Click the Save button to create the attribute group.
Step 2 Add Attributes in Arastta
Now we can go to Catalog>Attributes>Attributes to add attributes to this group.
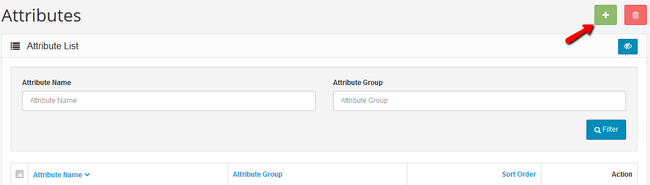
Click on the Add New button to add a new Attribute.
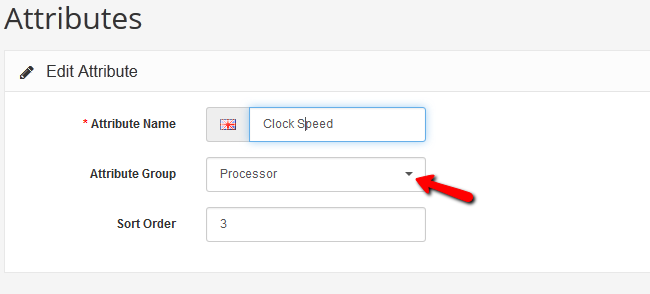
Choose the name for the new attribute, the attribute group from the drop-down menu and a sort order for this attribute and click Save.
Step 3 Add Attributes to products in Arastta
Now when adding a product that can use this attribute you can select it in the Attribute tab of the product creation process.
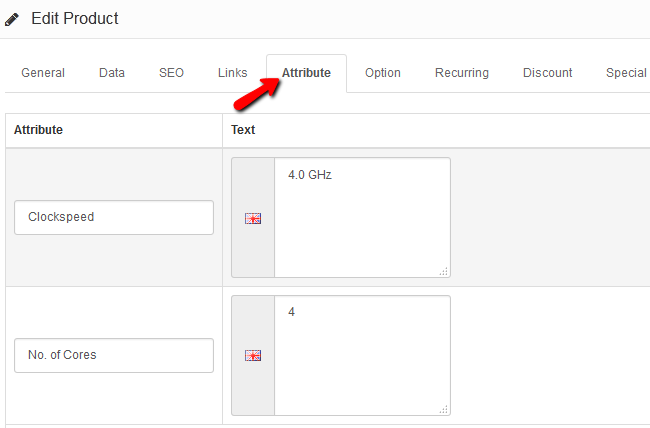
Now the customer will be able to see these two attributes when comparing two different CPUs and choose the one that fits for his project.
On this page...

Arastta Hosting
- Free Installation
- 24/7 Arastta Support
- Free Domain Transfer
- Hack-free Protection
- Fast SSD Storage
- Free Cloudflare CDN
- Free Arastta Transfer
