Manage Menus in Arastta
Updated on Dec 10, 2015
The ability to have custom menus is one of the main difference between Arastta and its predecessor OpenCart. In Arastta you can setup a new custom menu in less than a minute and even have menus with custom links for external sources.
To complete the Arastta Installation, please follow these steps:
Step 1 Adding Menus in Arastta
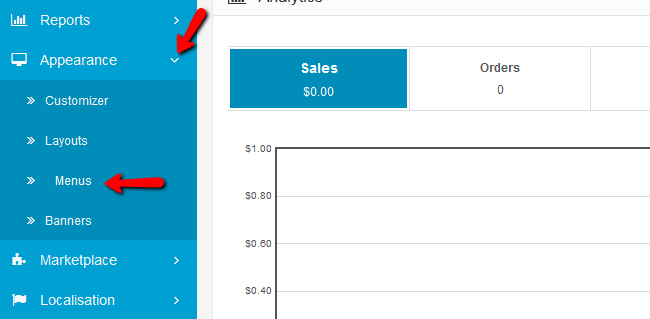
To create a new menu you will need to be logged in the admin area of your website. Navigate to the Appearance>Menus section of the main admin panel.
On the right you will see any pre-existing menus and on the left is the section for adding new menus.
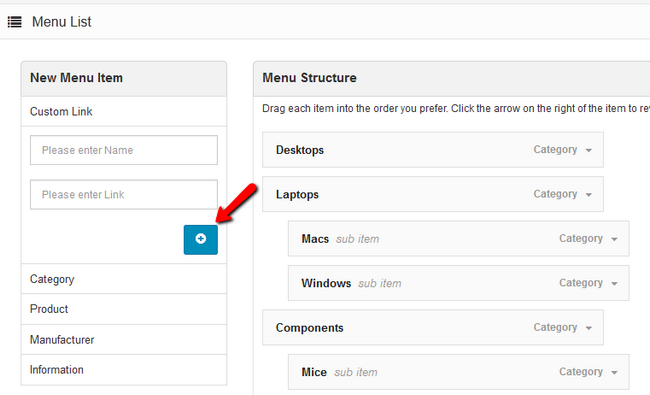
Let us create a new menu that will be a clickable button to an external source (in our case this will be FastComet).
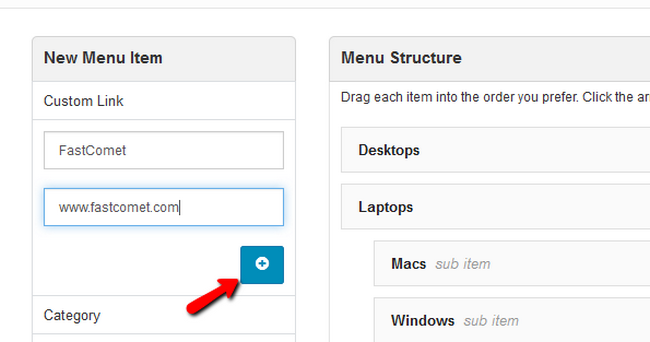
After you click the blue Add custom Link to menu button you will notice the new menu at the bottom of the page.
Step 2 Moving Menus in Arastta
You can position the menu depending on your taste by dragging and dropping it in the menu structure.
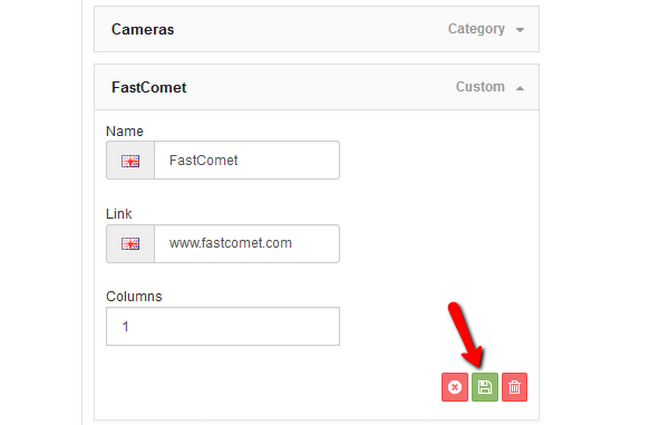
If you click on the drop-down arrow you can see details for the menu. Click on the green Save icon to make sure the menu is saved properly.
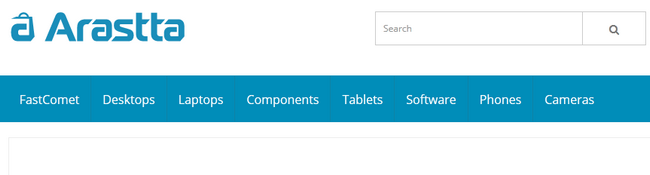
Now when you go to your store’s front-end you will see the newly created menu in the position that you have dragged it to.
On this page...

Arastta Hosting
- Free Installation
- 24/7 Arastta Support
- Free Domain Transfer
- Hack-free Protection
- Fast SSD Storage
- Free Cloudflare CDN
- Free Arastta Transfer
