How to Add a New Product in AbanteCart
Updated on Mar 13, 2019
Adding products to your E-Commerce website is probably the thing you need to do the most. The process itself is rather simple and in the next few lines of this tutorial we will show you how to add a product into your AbanteCart based website.
To Add a New Product in AbanteCart, you need to:
Step 1 Access the Product section
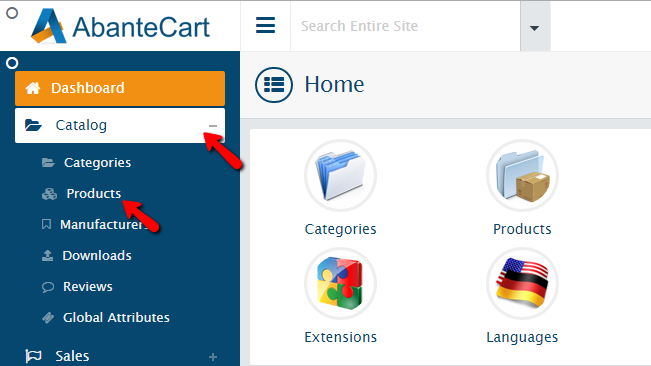
In order to add a product first and foremost you will need to login into the admin area of your AbanteCart website. Once logged you will find a vertical menu located at the left side of your screen. Then you will need to click on Catalog>Products.
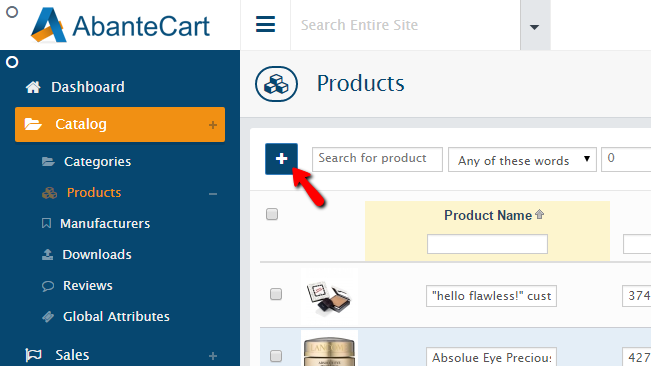
You will be presented with a list of all the products you have added until now. If you are accessing this page for your very first time then most probably you will see all the sample data products added with the installation procedure.
Now you will need to click on the small “+” sign at the top left corner of the Products page.
This will redirect you to the product configuration page where you will be able to configure the new product you will be adding. We will discuss the configuration process in the next step of this tutorial.
Step 2 Configure your New Product
Assuming that you have reached the product configuration page you will need to configure several groups of settings. Now most of the settings are quite straight and we will not discuss them.
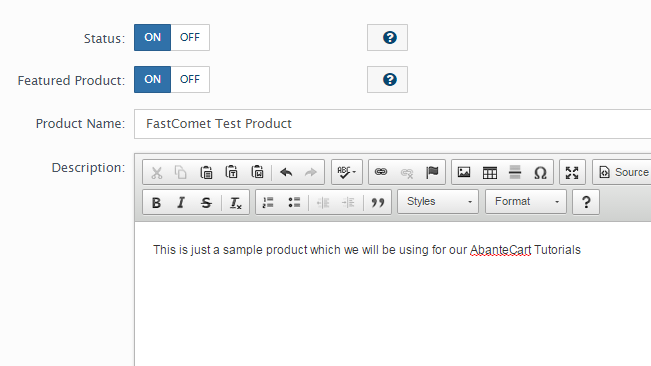
Let’s begin with the first group of settings called General. At the top of the page you will find that group and respectively in the group you will find the following settings:
- Status – The status of the product
- Featured Product – If the product should be featured on the home page
- Product Name – The name of your product
- Description – The description of the product
- Meta Tag Keywords – The keywords which will be used by the search engines to index your product
- Meta Tag Description – The description which will be shown in the search engines for your product
- Product Tags – The tags this product will be associated
- Categories – The categories your product will be included into
- Stores – The stores this product will be added to (in case of multistore setup)
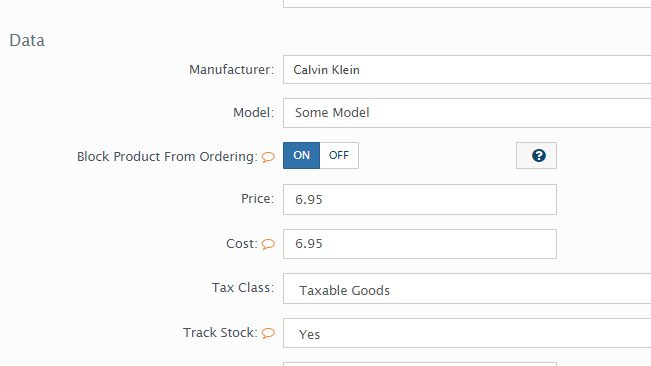
The next section of settings is the Data section and there you will be able to find the following related settings:
- Manufacturer – The brand of the manufacturer for this product
- Model – The model of the product
- Block Product From Ordering – If the product should be blocked for orders
- Price – The price of the product
- Cost – The cost of the product
- Tax Class – The tax class that should be applied to this product
- Track Stock – Here you can define if the stock for this product should be tracked
- Quantity – How much of this product can be ordered
- Minimum Quantity – If a minimum amount of this product should be purchased
- Maximum Quantity – If the maximum amount of this product should be limited
- Out Of Stock Status – The status of the product if it is “Out of Stock”
- SKU – This is the unique identification number for your product
- SEO Keyword – The keywords you would like to specify for the search engines to index this product
- Date Available – The date this product will be available from
- Sort Order – The sorting order of this product
- Requires Shipping – If the product will require shipping
- Free Shipping – If the shipping for this product should be free
- Ship Product Individually – If the product should be shipped separately from the others
- Fixed Shipping Price – If there should be a fixed shipping price applied
- Length – The length of the product
- Width – The width of the product
- Height – The height of the product
- Length Class – The metric class that should be used when measuring this product
- Weight – The weight of the product
- Weight Class – the metric class which should be used when measuring the weight of the product
If you are done with all these settings then you can click on the Save button located at the bottom of the page.
Now you have your product added to your AbanteCart. However there are few things that should be done additionally. Most probably you have noticed that you got redirected to a Product Summary page. On that page there are few tabs we would like to discuss.
The first one is the “General” tab and there you have configured the above discussed options for your product. The second tab is called “Media” and there you can add any media contents related to this product.
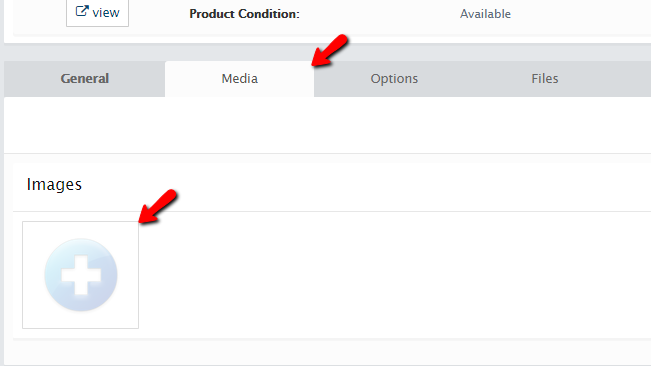
If you click on the “+” sign under the Images section you will be able to add the type of content you would like to.
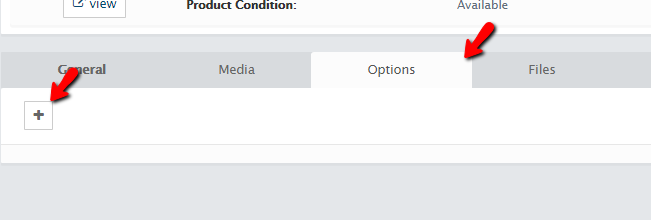
The next tab is called Options and there you will be able to add different options for your product like for example adding a color option.
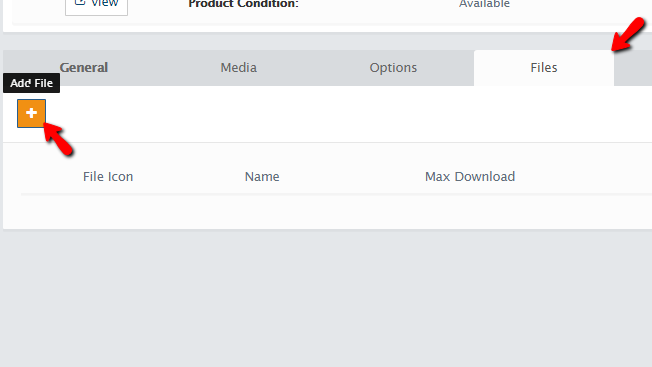
Next you will notice the Files tab where you will be able to upload and configure files if for example your product is downloadable type of product.
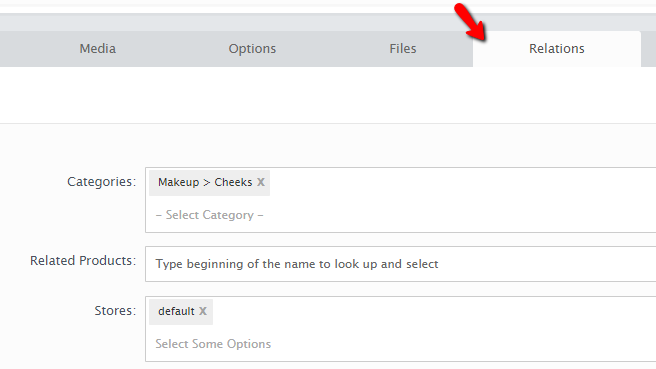
The next tab is called Relations and there you will be able to configure the relations of this product with other products or categories.
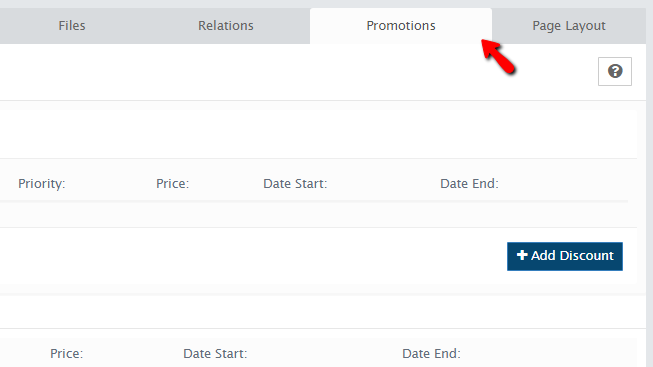
The next tab is called Promotions. There you will be able to configure different discounts or specials for your product.
The last tab is called Page Layout and there you will be able to configure the actual layout of the page for this product.
Every single one of these tabs have the option to save the content you have created so whenever you change something it is recommended for the change to be saved.
Congratulations! You now know how to add products to your AbanteCart based website!
On this page...

AbanteCart Hosting
- Free Installation
- 24/7 AbanteCart Support
- Free Domain Transfer
- Hack-free Protection
- Fast SSD Storage
- Free Cloudflare CDN
- Free AbanteCart Transfer
- Immediate Activation
